Quick Access Guide
Below is a detailed guide for using the new system’s API services. We recommend following the steps for a smooth and efficient integration. If you have any questions, please feel free to contact our technical support team at any time.
Step 1: Access the KlingAI API Platform
- Visit https://kling.ai/dev
- Browse the relevant product pages
- Video Generation Model: https://kling.ai/dev/pricing?scrollTo=video
- Image Generation Model: https://kling.ai/dev/pricing?scrollTo=image
- Intelligent Scenarios: https://kling.ai/dev/pricing?scrollTo=tryon
| KlingAI API Platform | Video Generation Model | Image Generation Model | Intelligent Scenarios |
|---|---|---|---|
 |  |  |  |
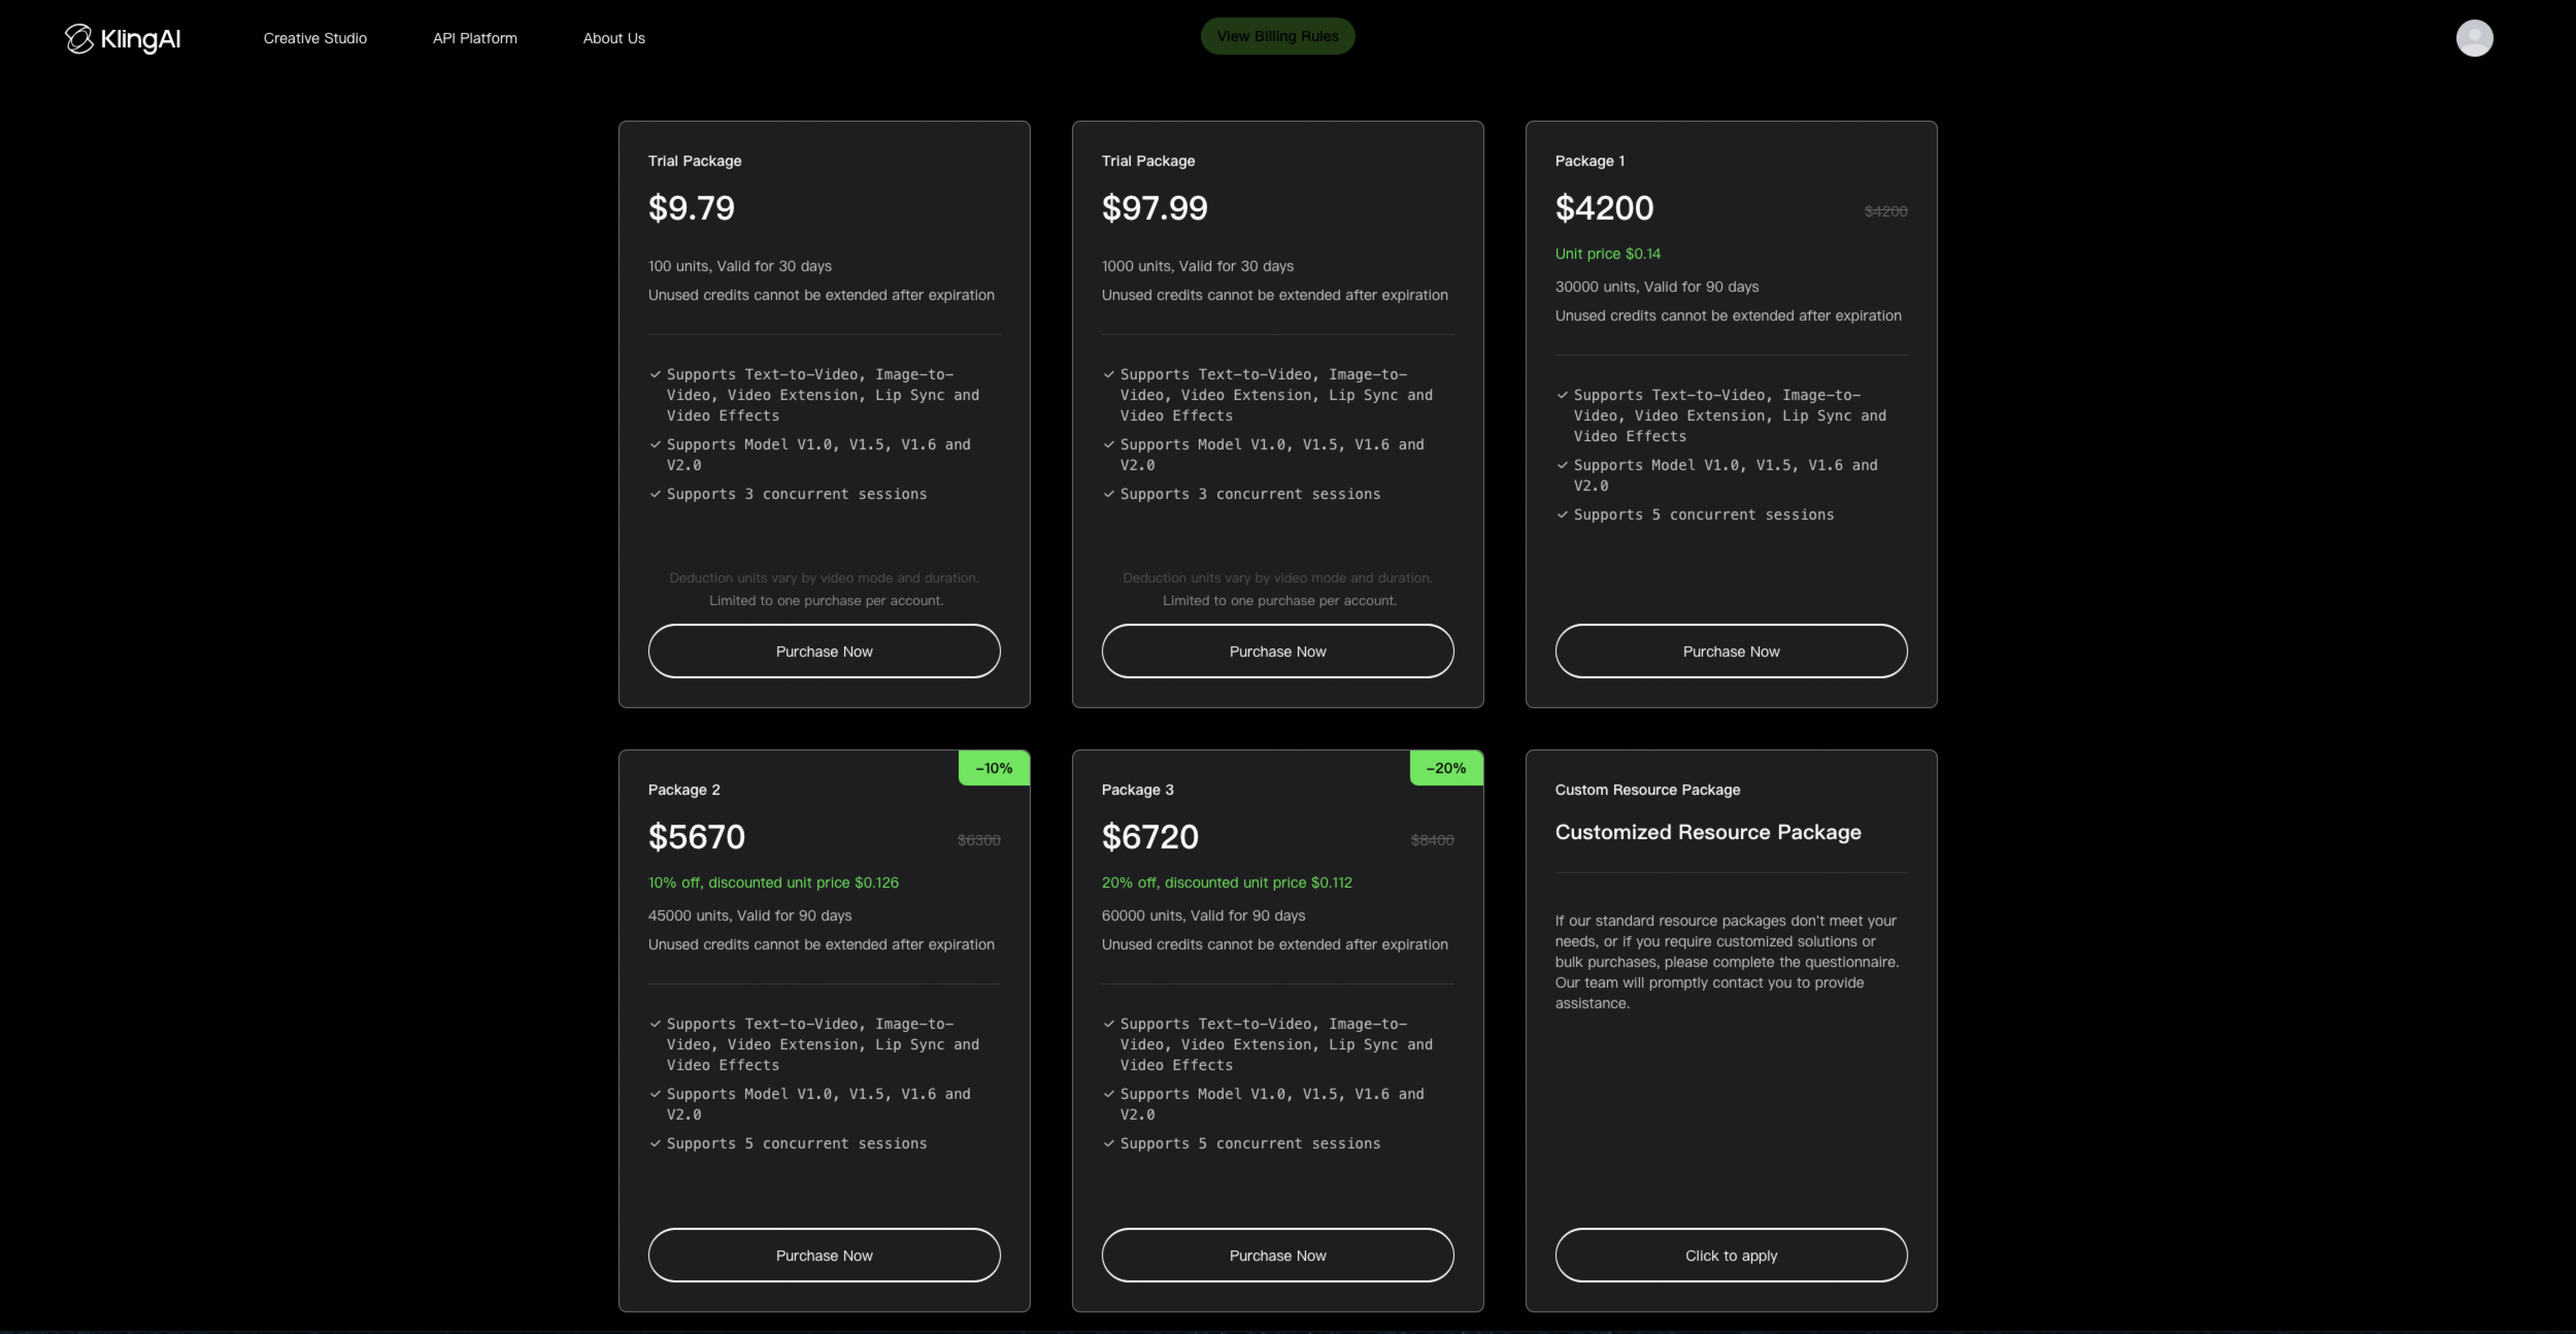
Step 2: Resource Packages Purchasing
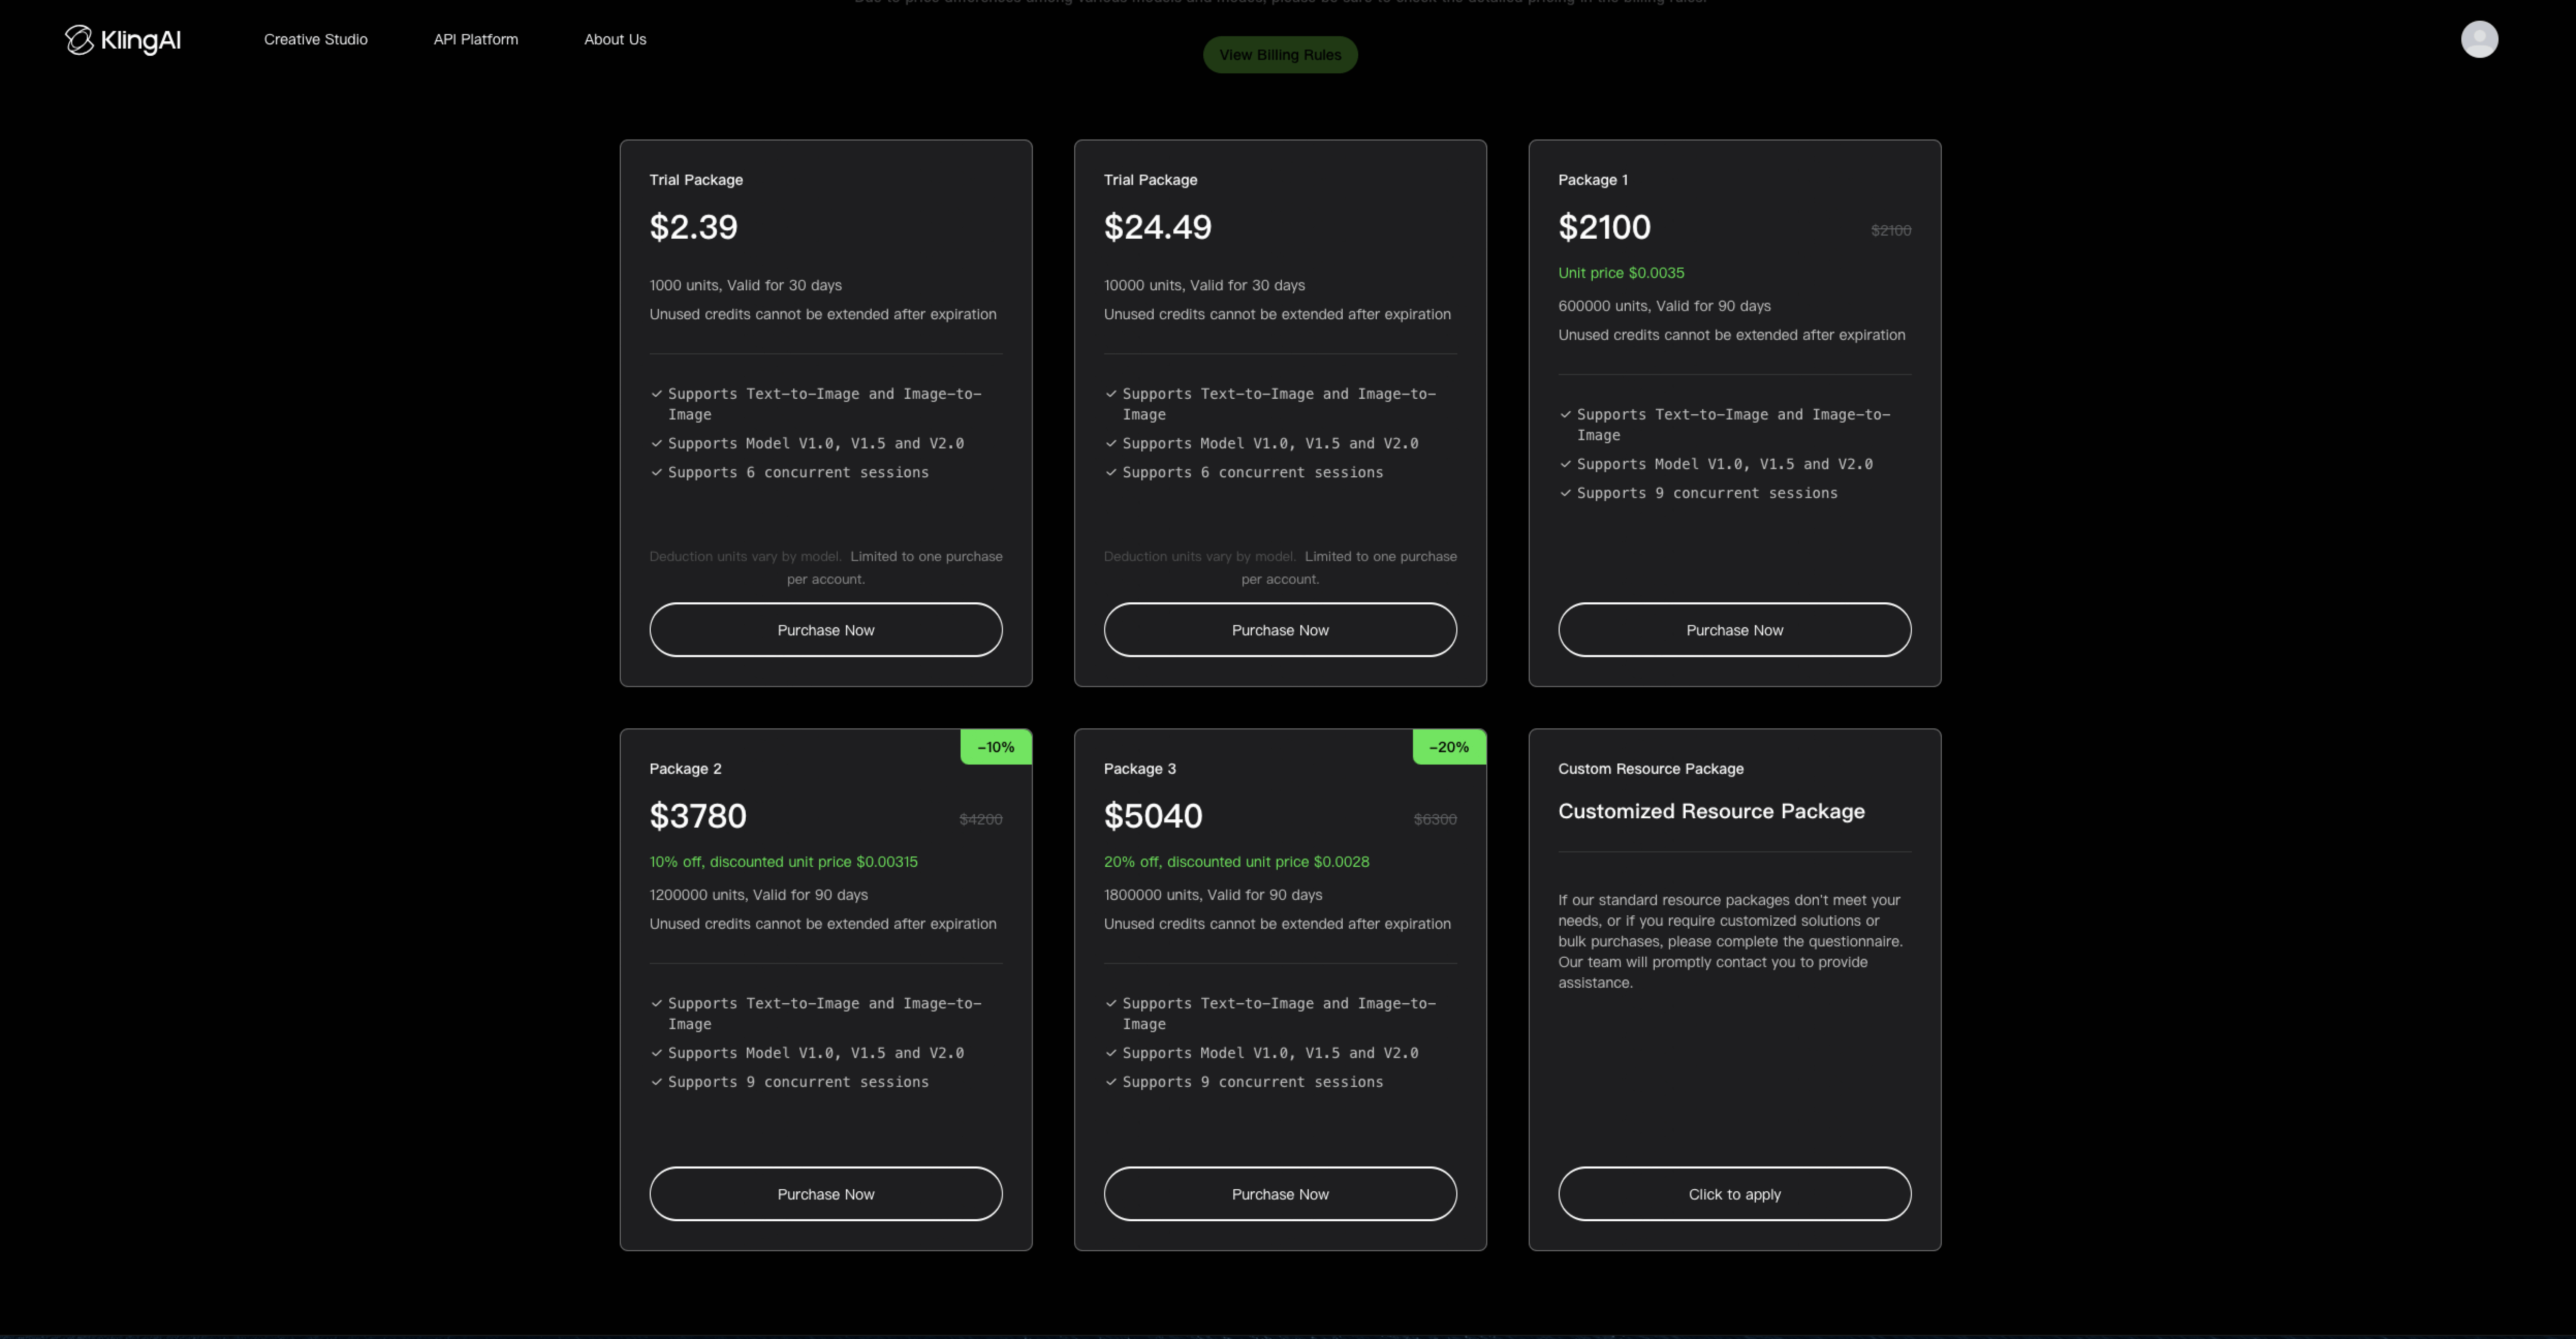
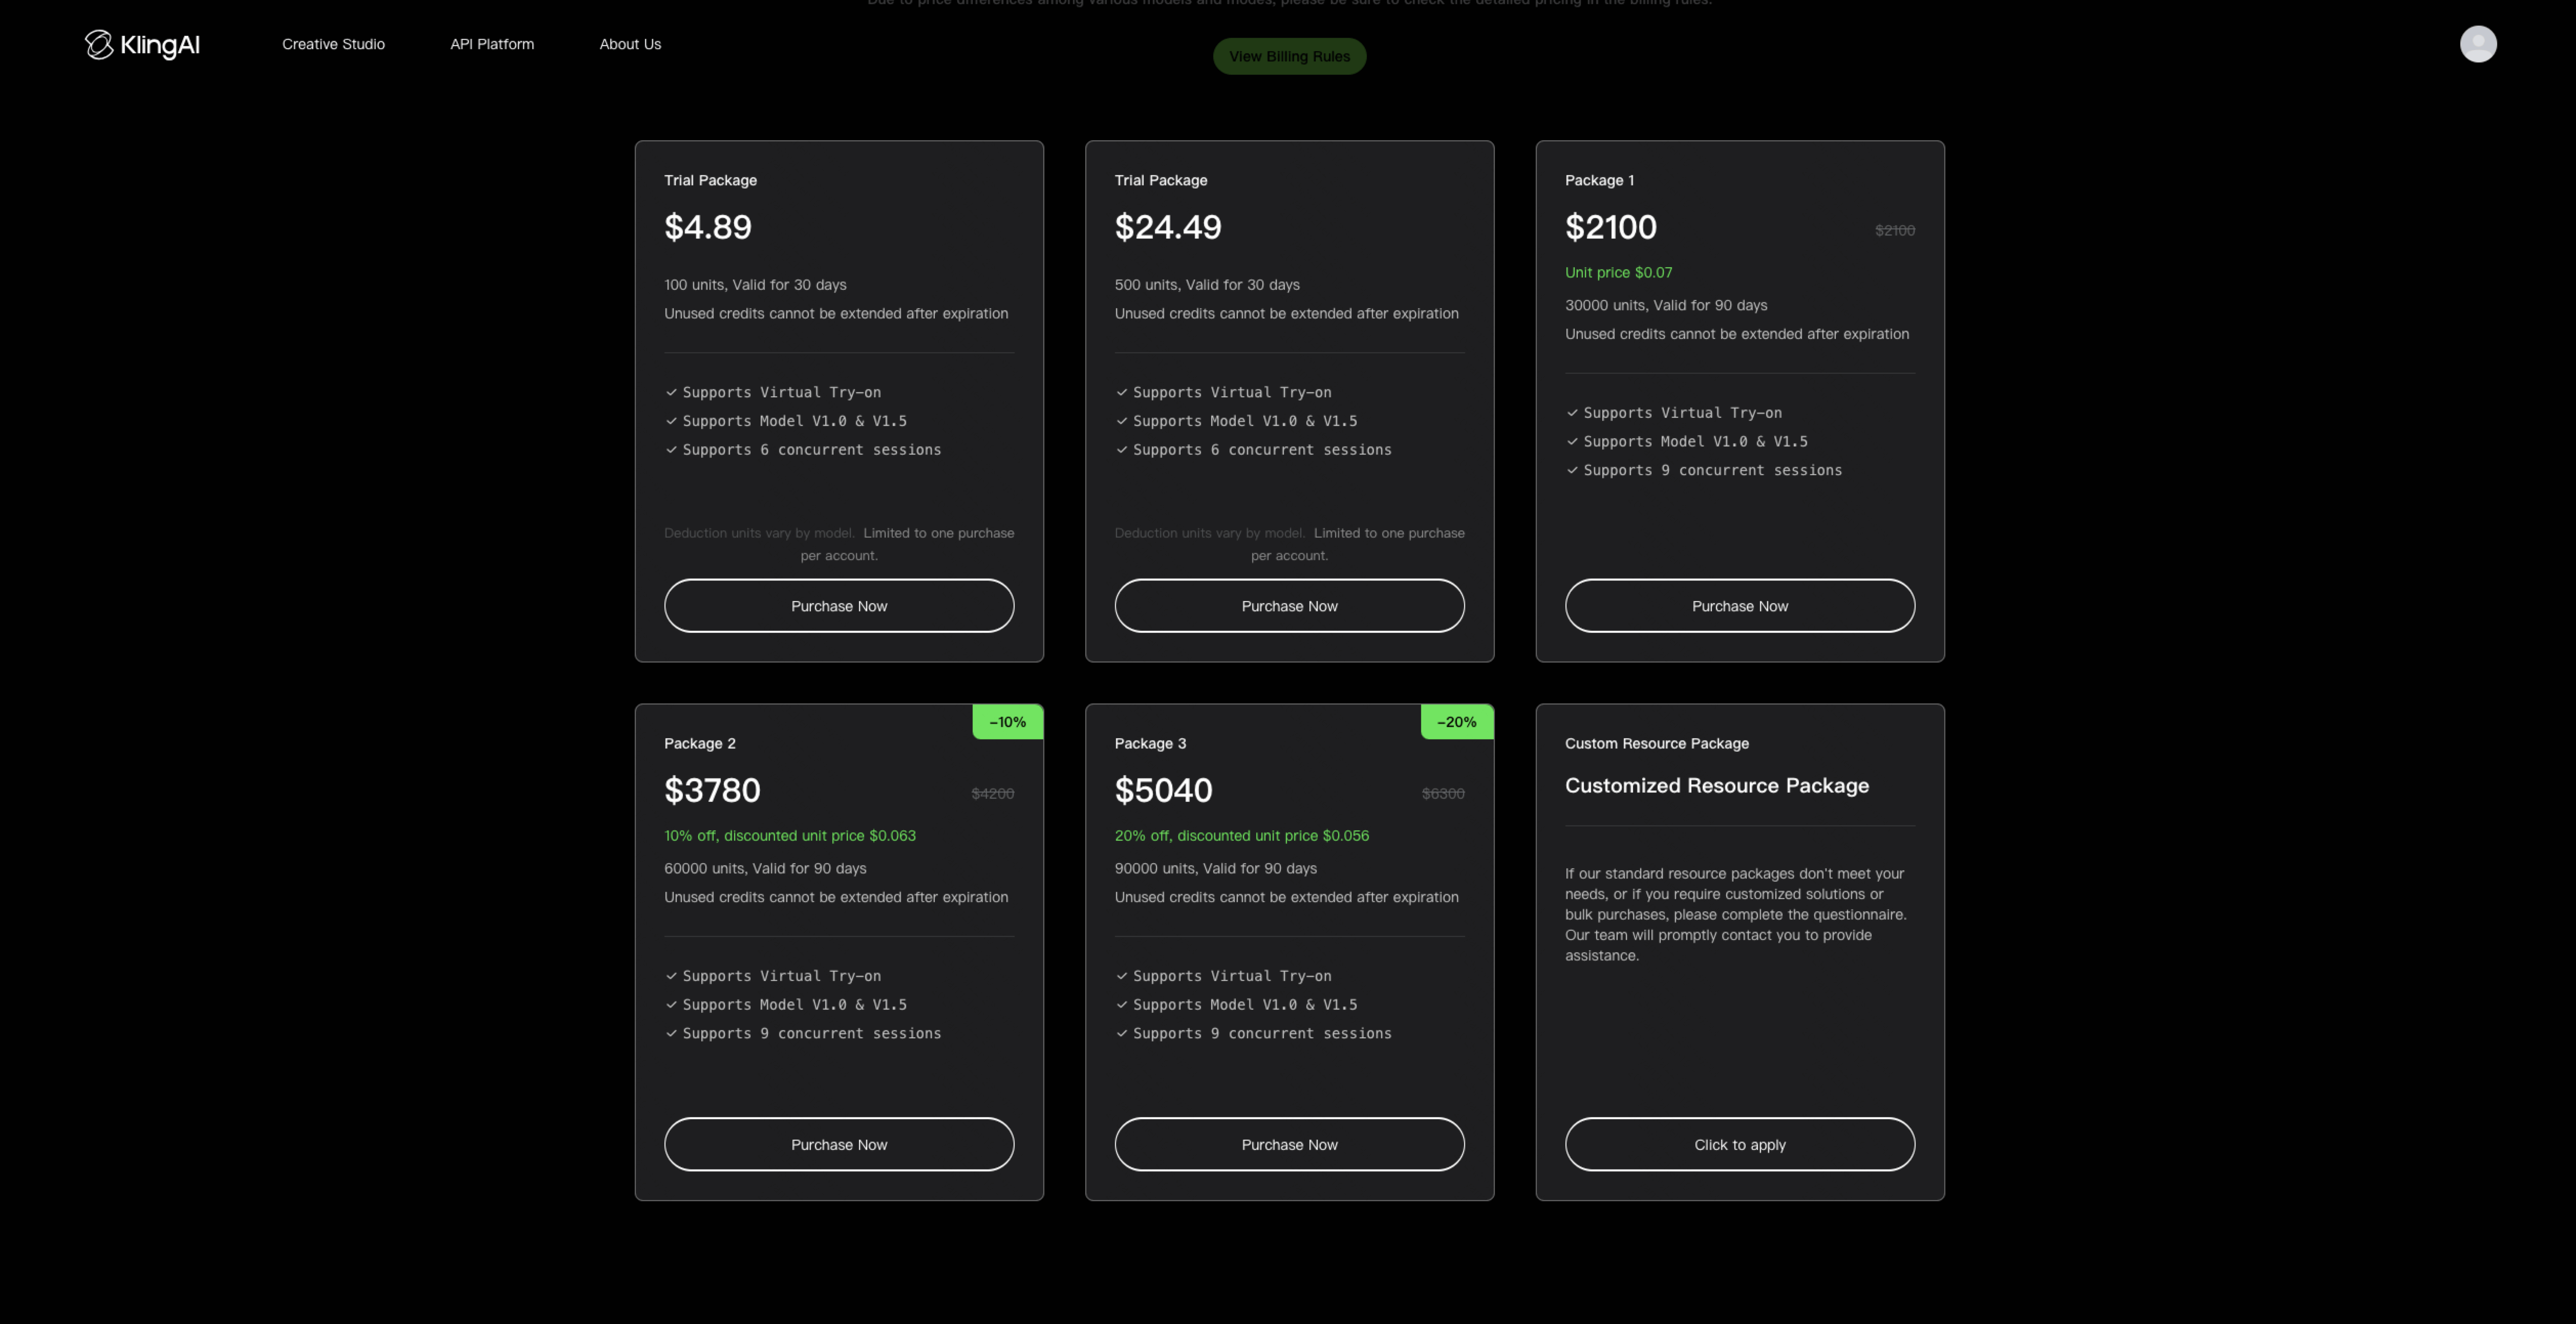
The three API resource packages: Video generation packages, Image generation packages, and Virtual try-on packages are fully available. You can choose packages based on your needs. Additionally, we also offer a “Trial Resource Package” for joint debugging and testing. For more details, please visit the ordering page.
- Video Generation API Purchase Portal:https://kling.ai/dev/pricing?scrollTo=video
- Image Generation API Purchase Portal:https://kling.ai/dev/pricing?scrollTo=image
- Virtual Try-On API Purchase Portal:https://kling.ai/dev/pricing?scrollTo=tryon
| Video Generation API Resource Package | Image Generation API Resource Package | Virtual Try-on API Resource Package |
|---|---|---|
 |  |  |
Step 3: Log in to the Developer Console
| the Developer Console |
|---|
 |
- Log in using your email. Your console account is the same as your Kling AI web account.
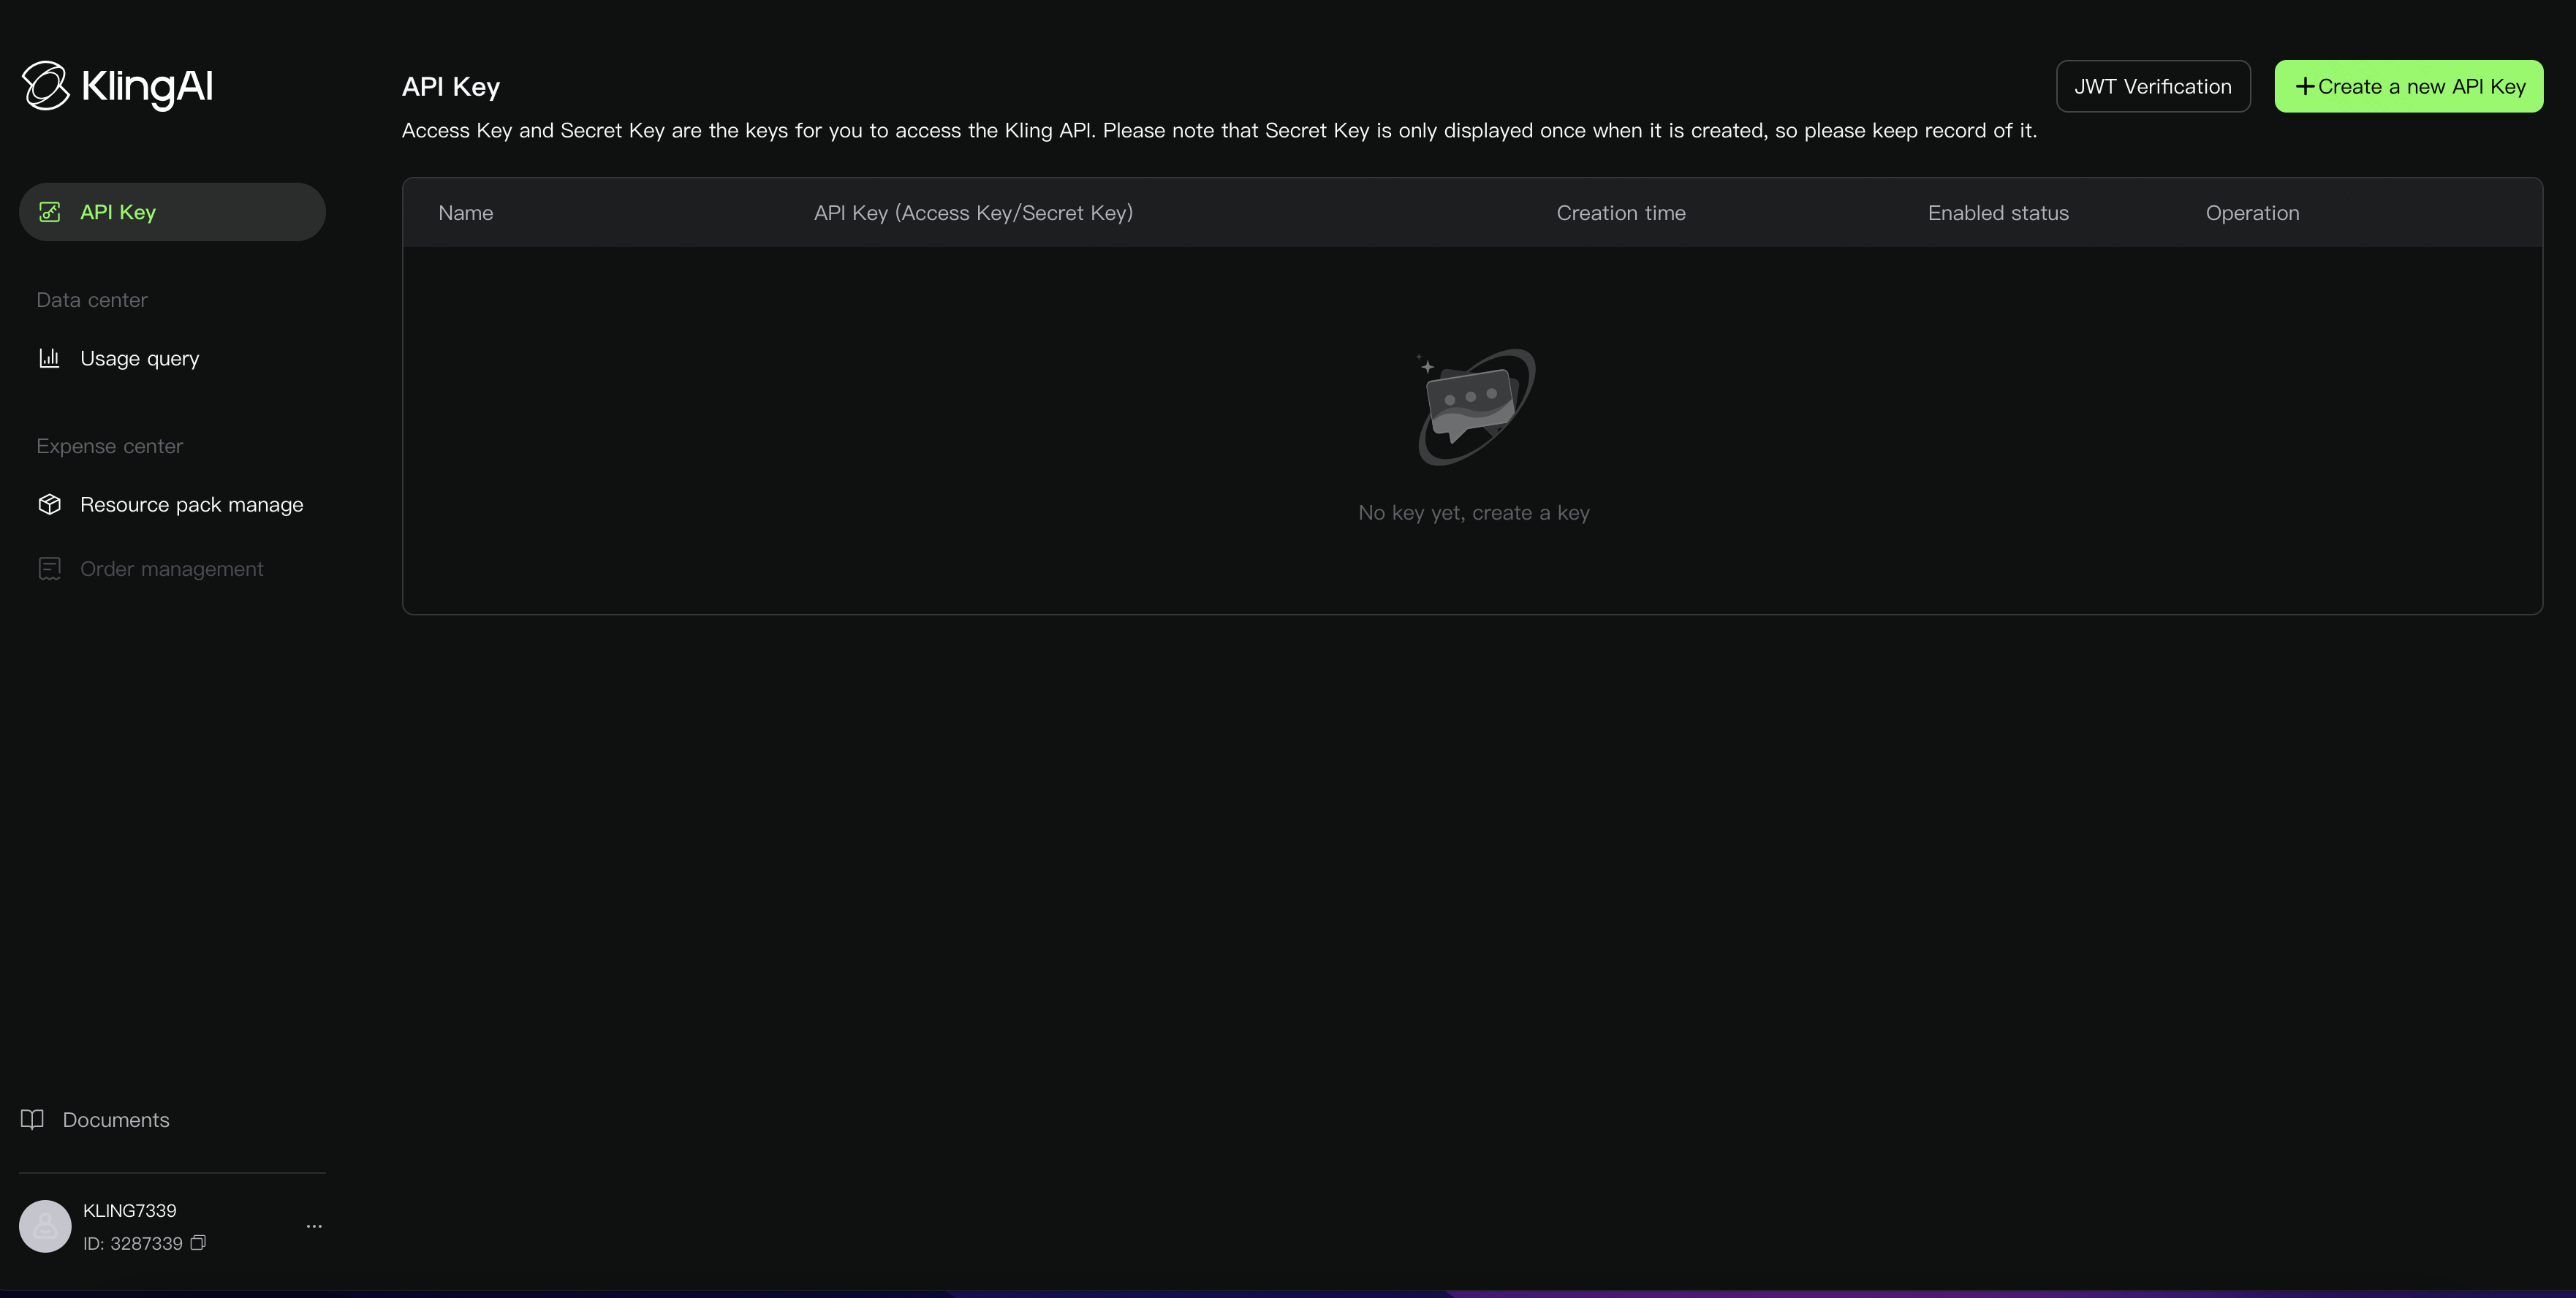
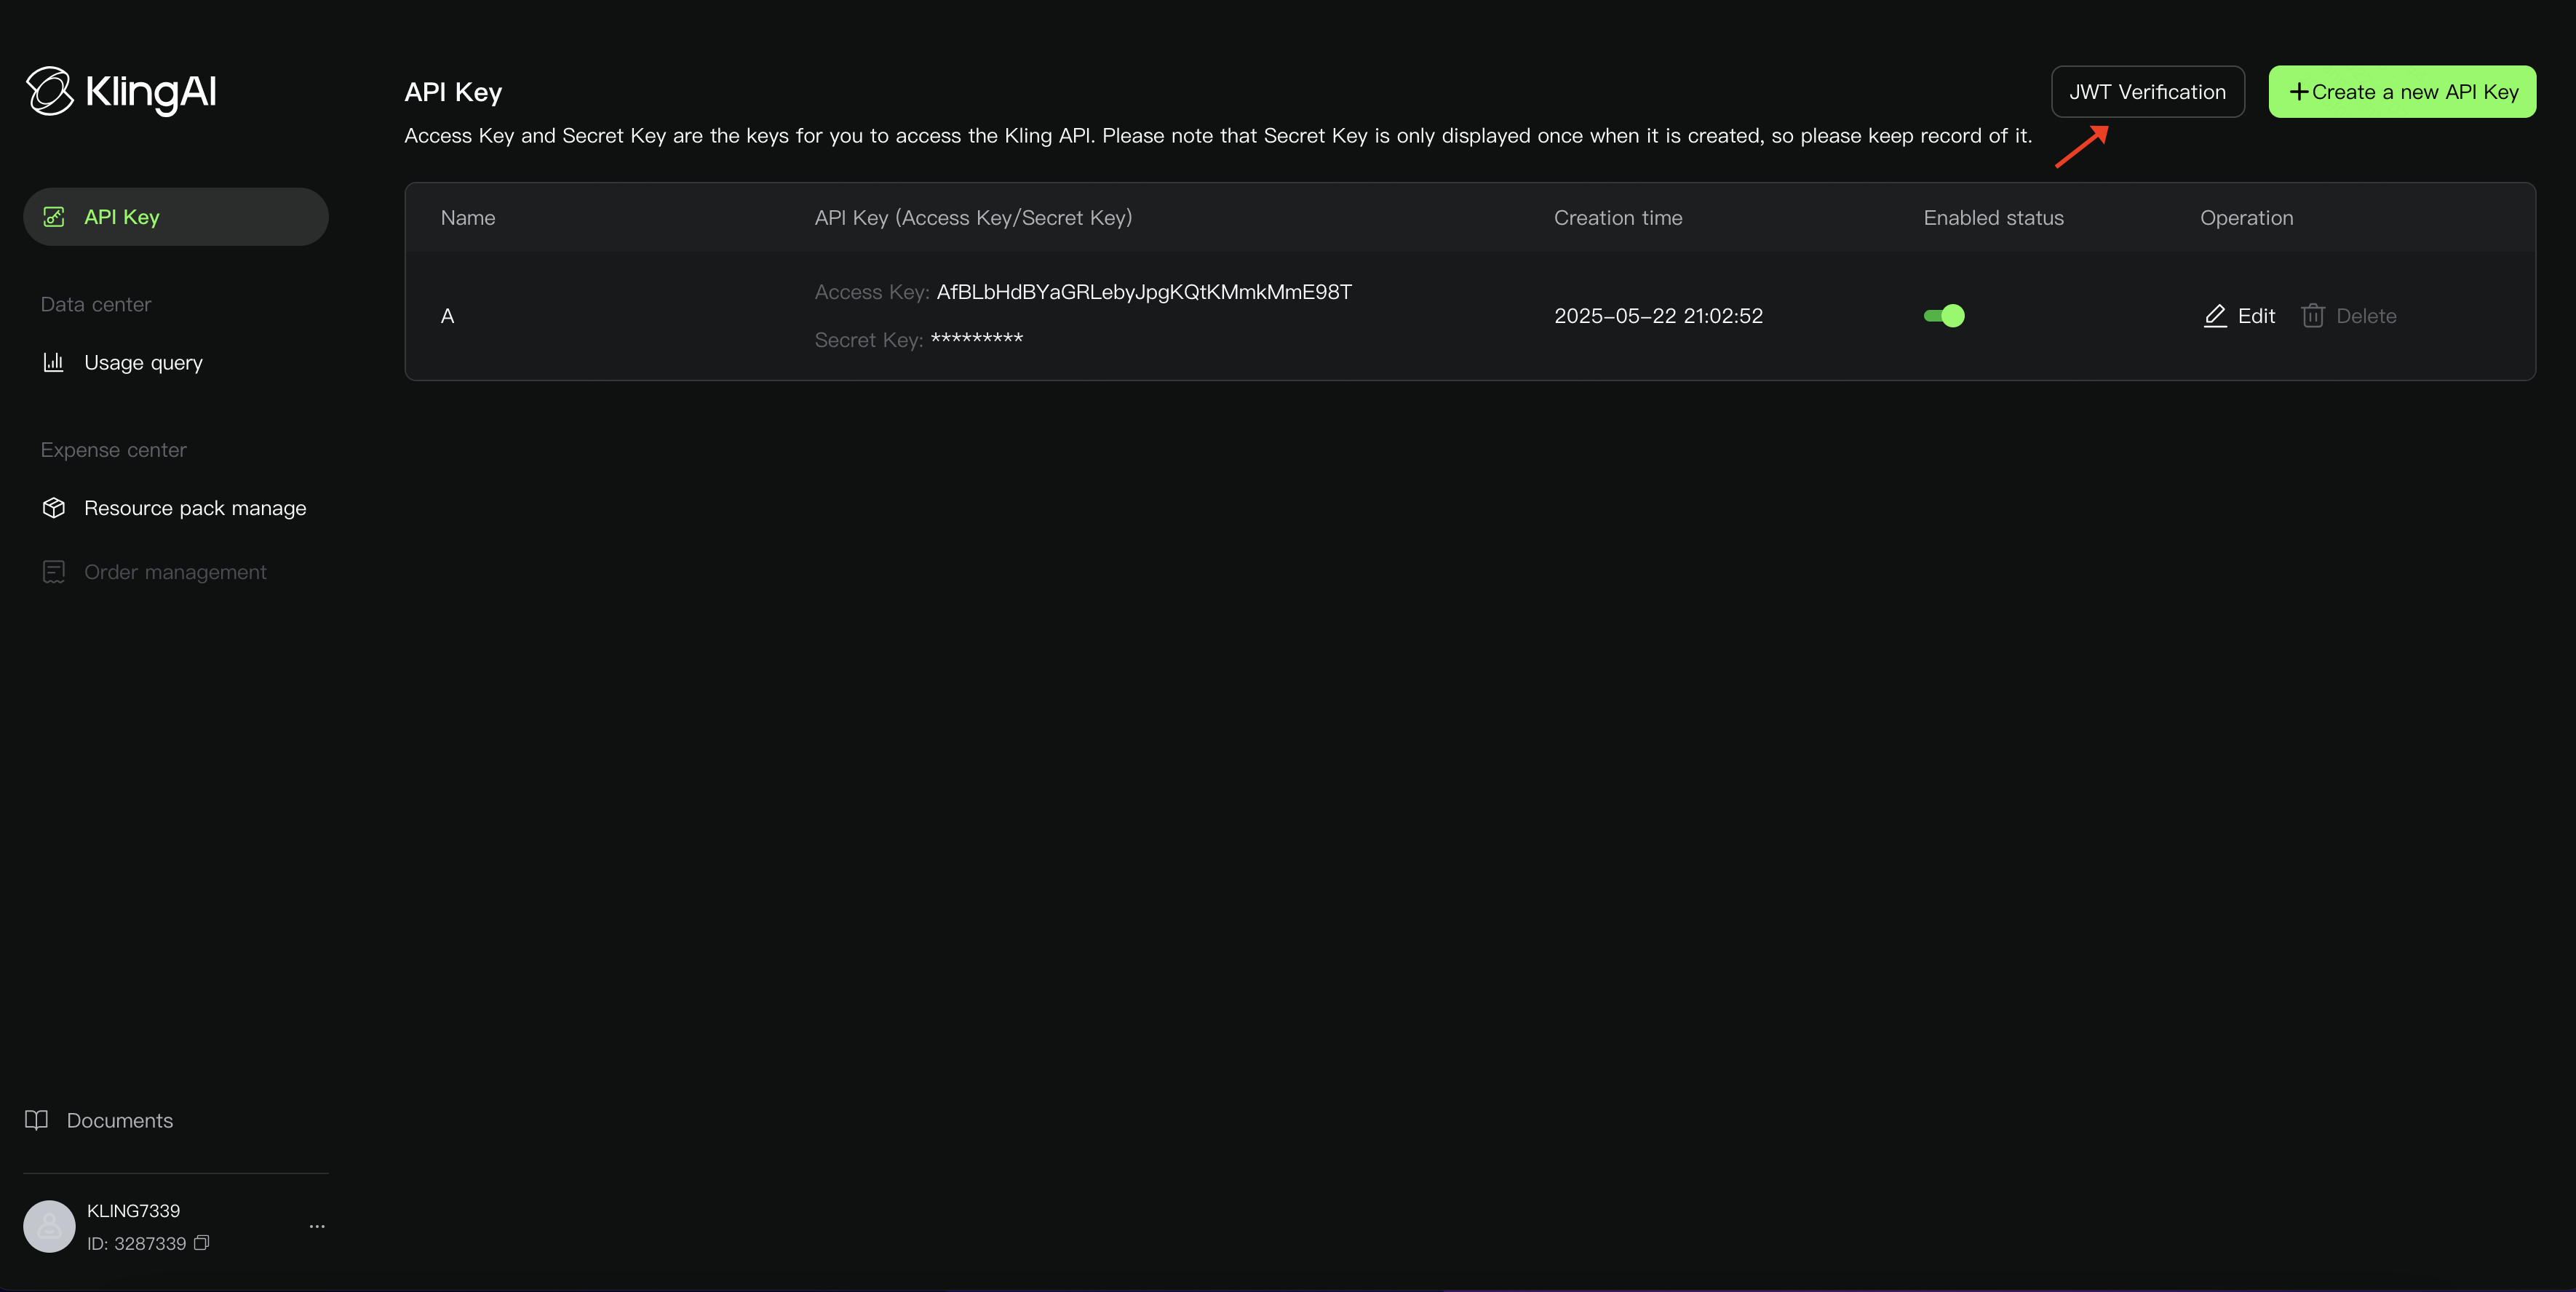
Step 4: Perform API Authentication
- Obtain Access Key and Secret Key
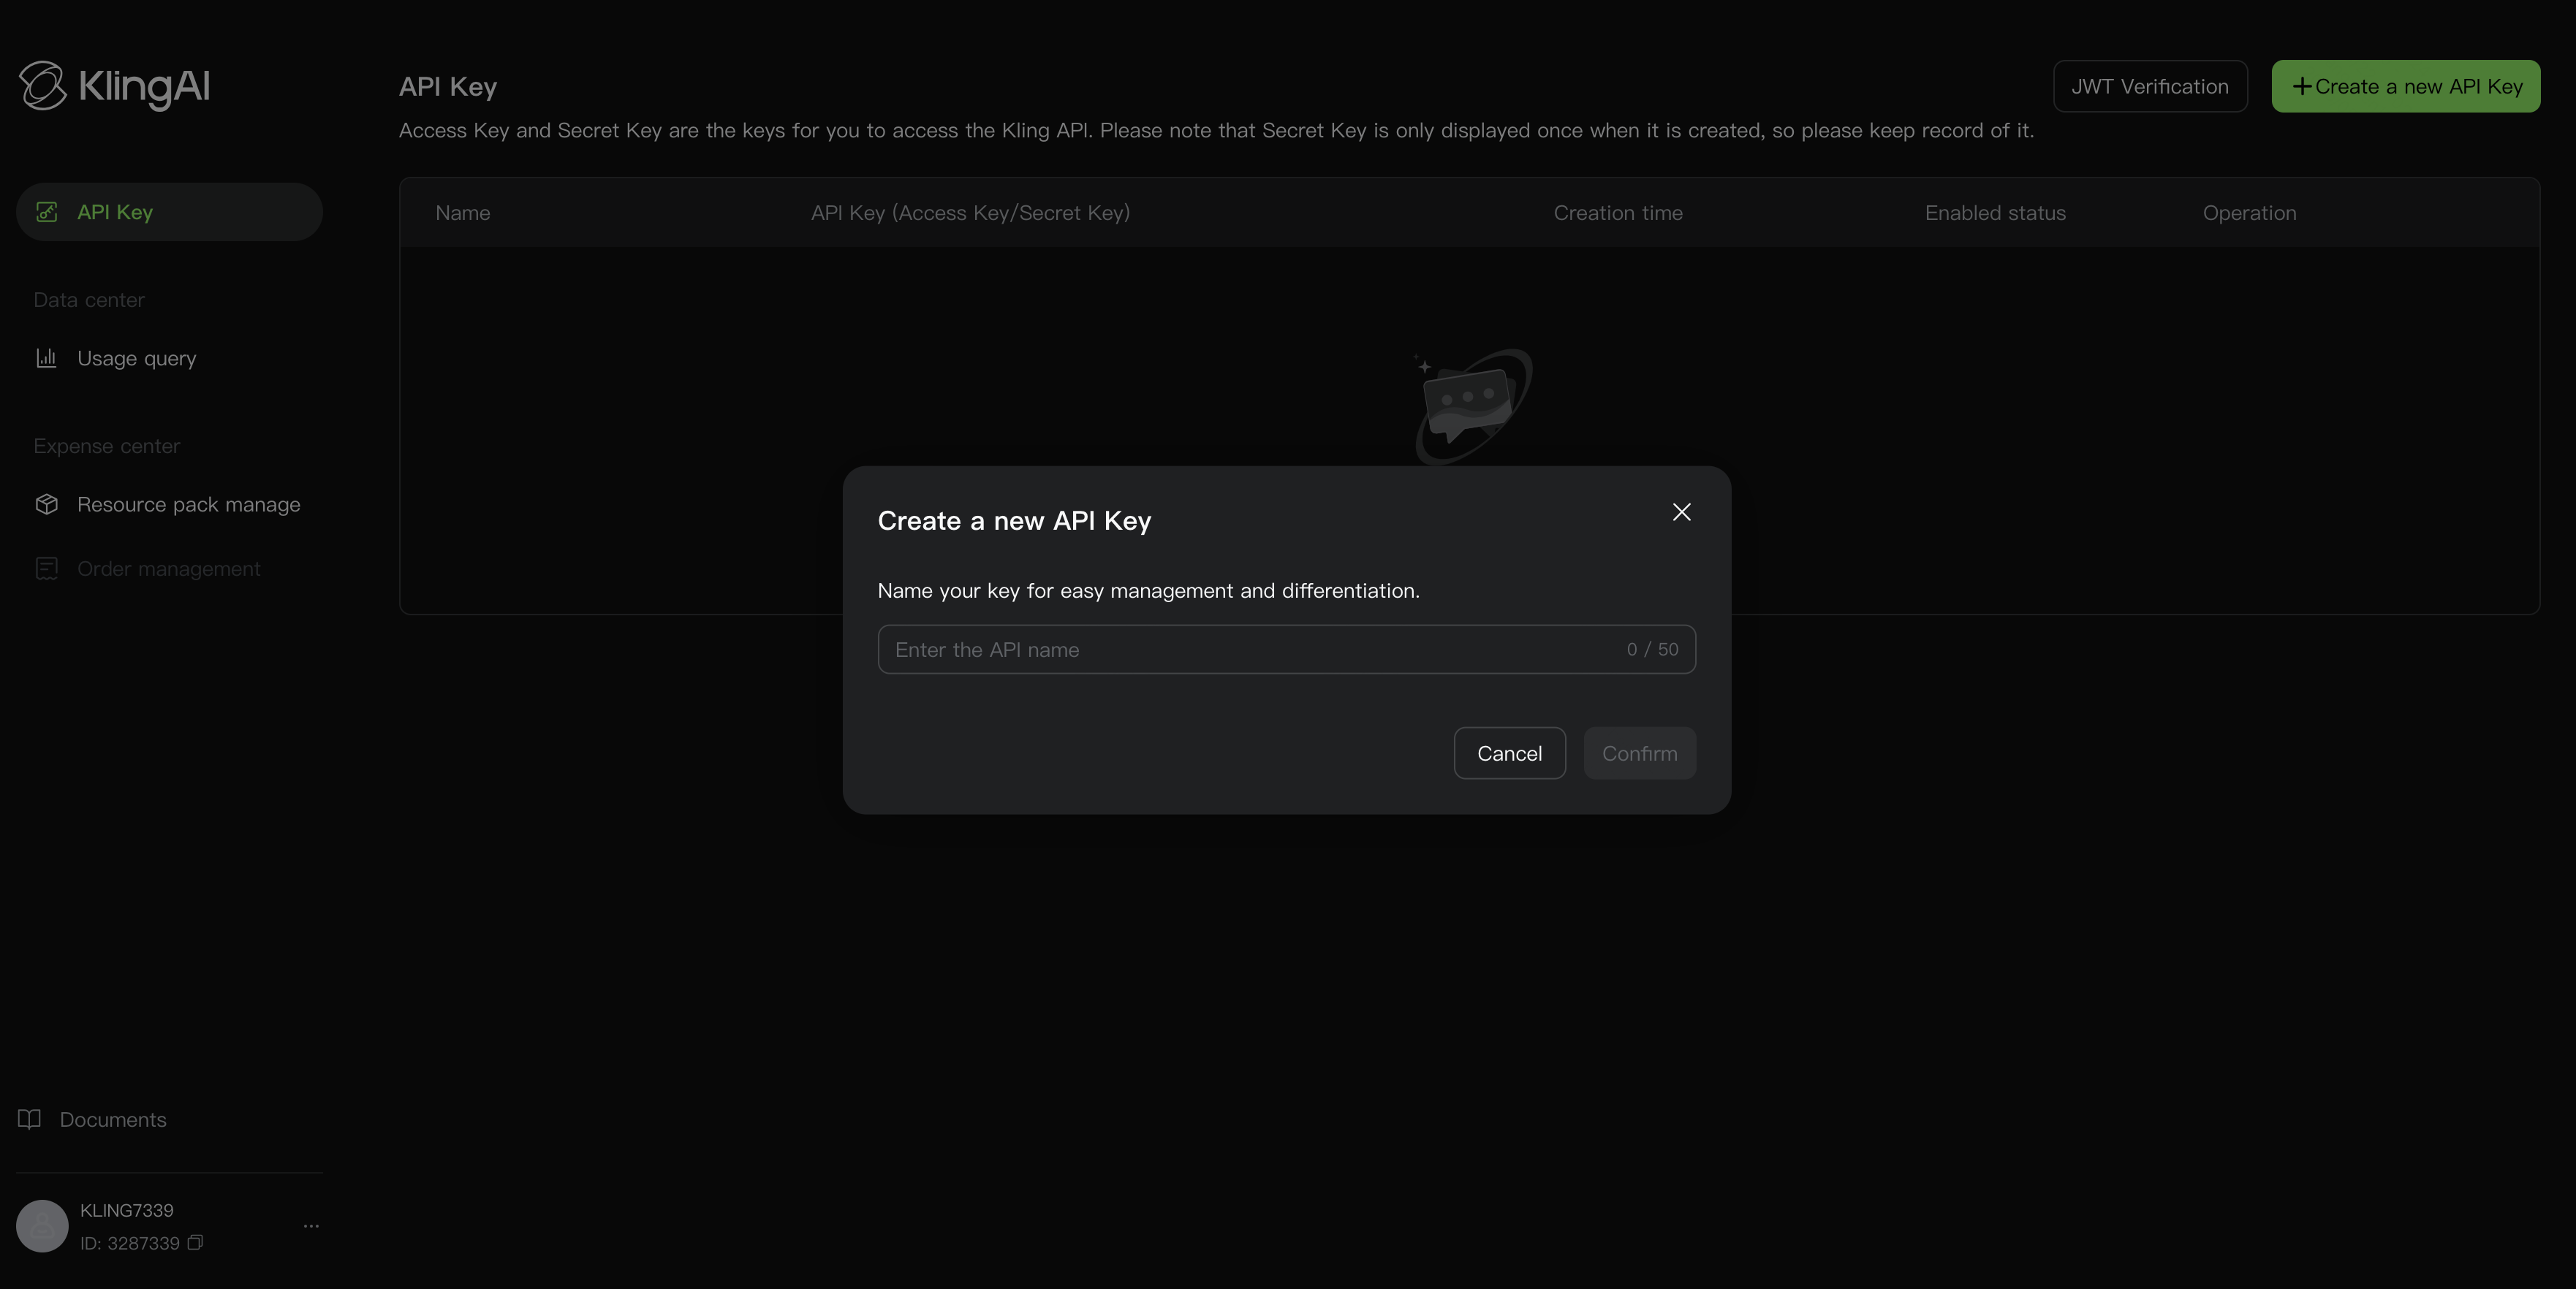
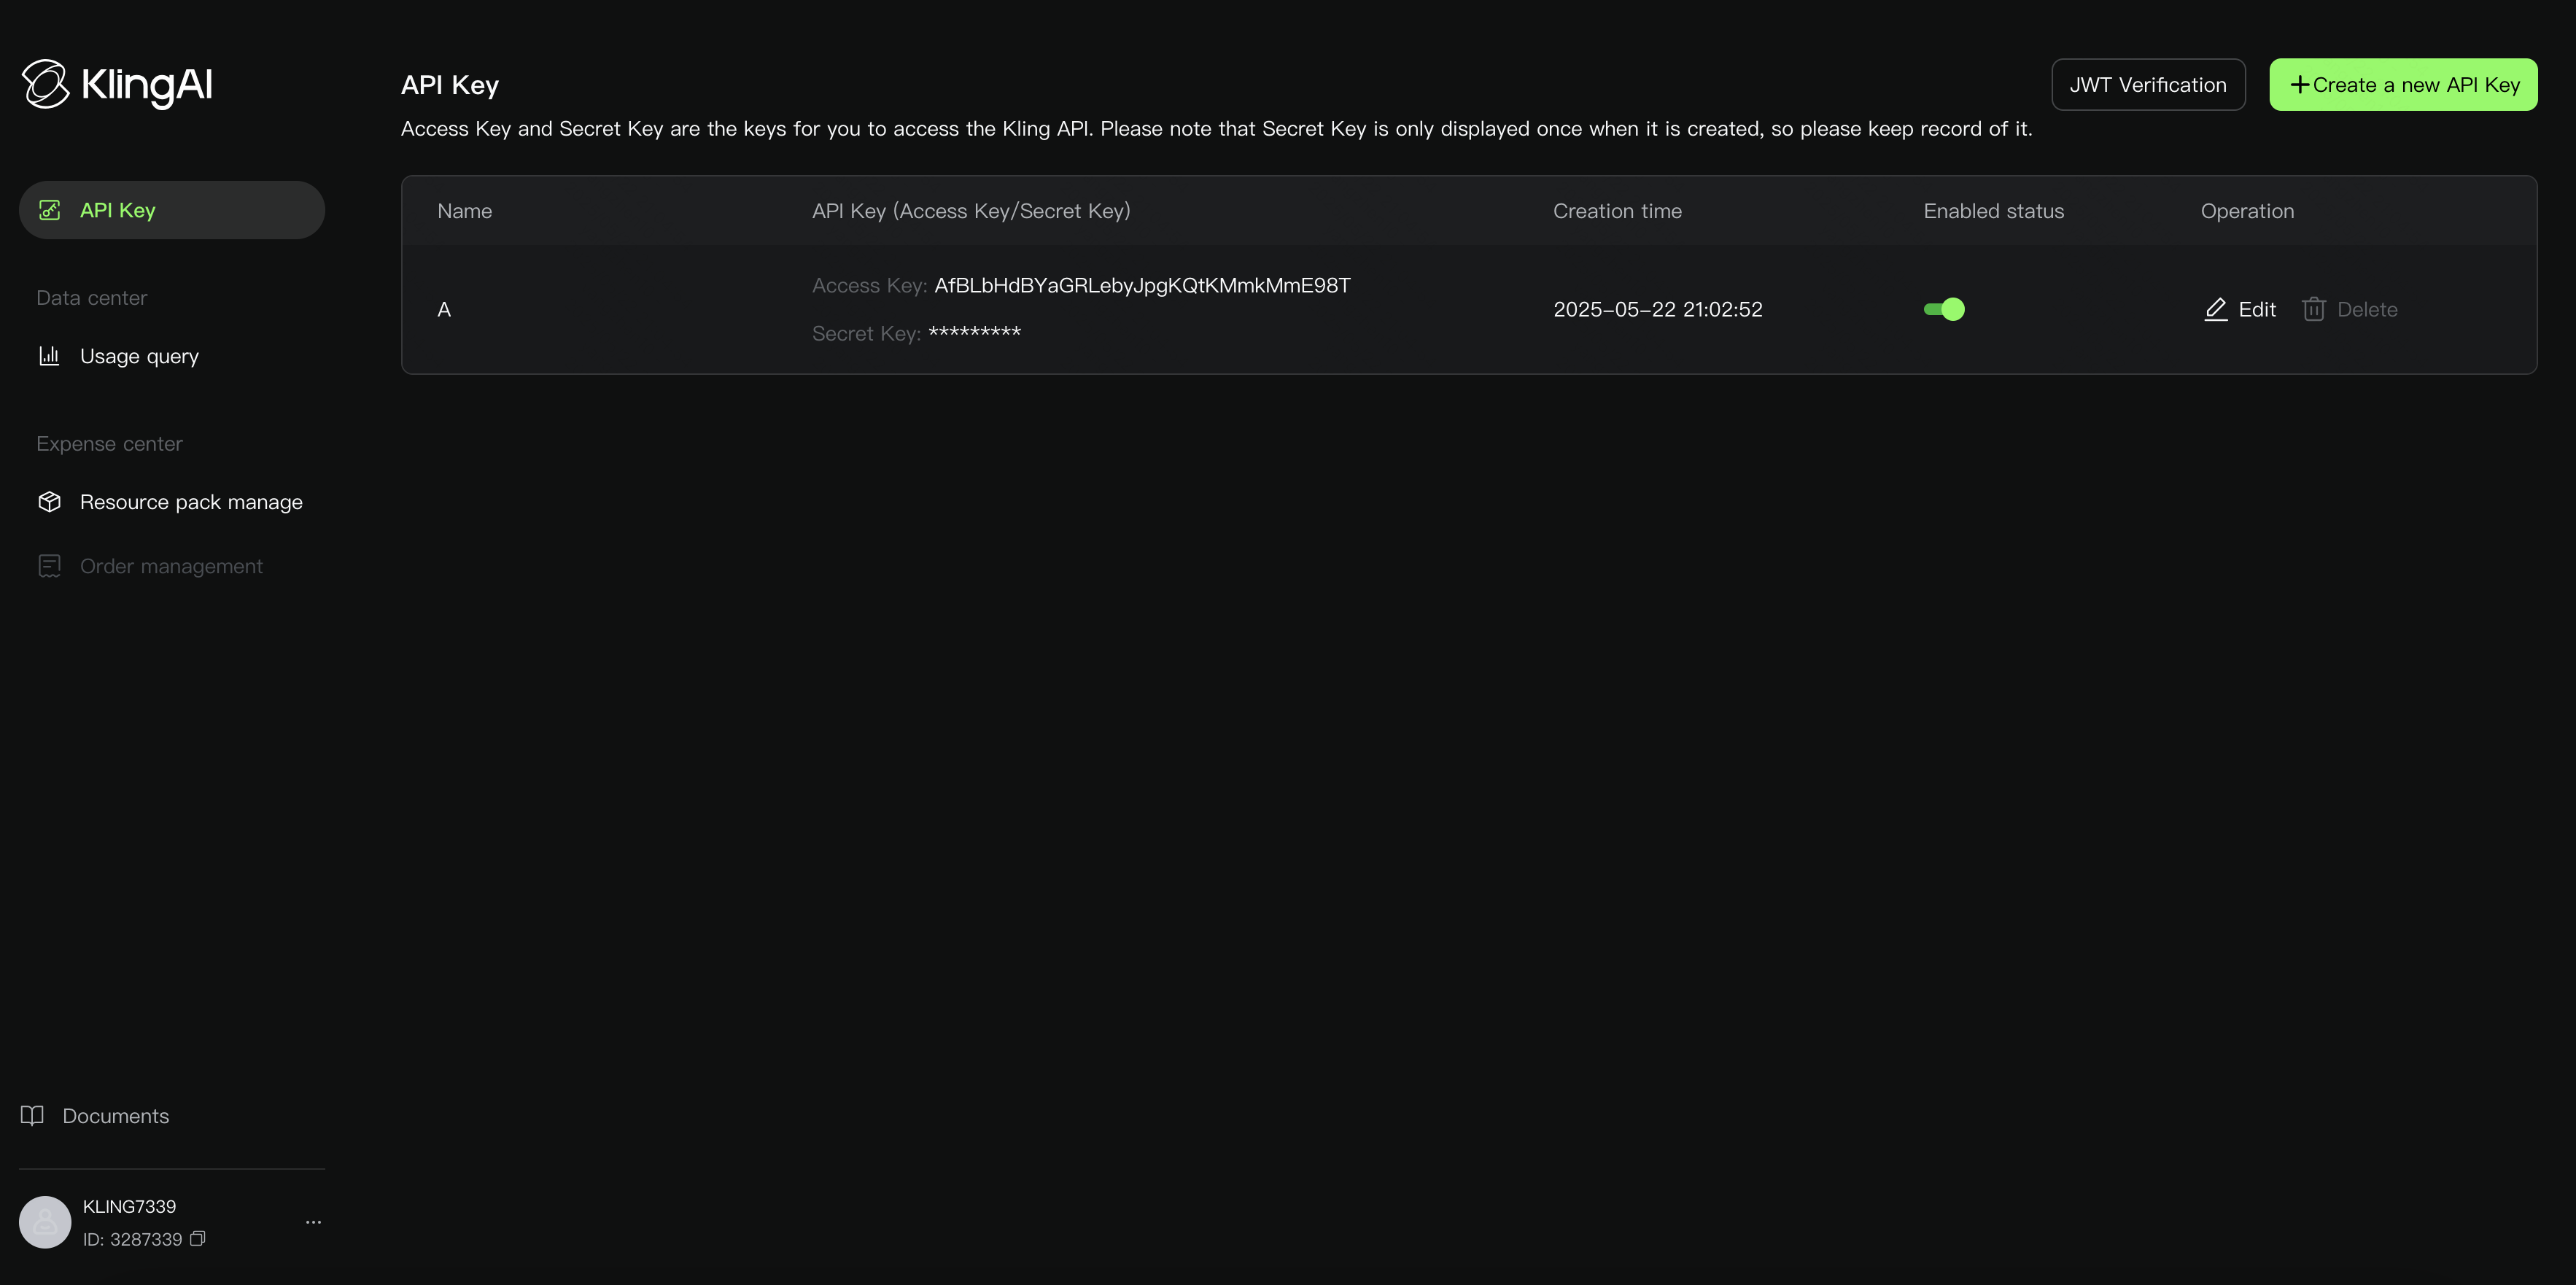
Create and name your API key for easy management. You can copy the Access Key and Secret Key with one click.
| Create API Key Name | One-click copy of Access Key and Secret Key | Supports enabling/disabling, renaming, and deletion |
|---|---|---|
 | 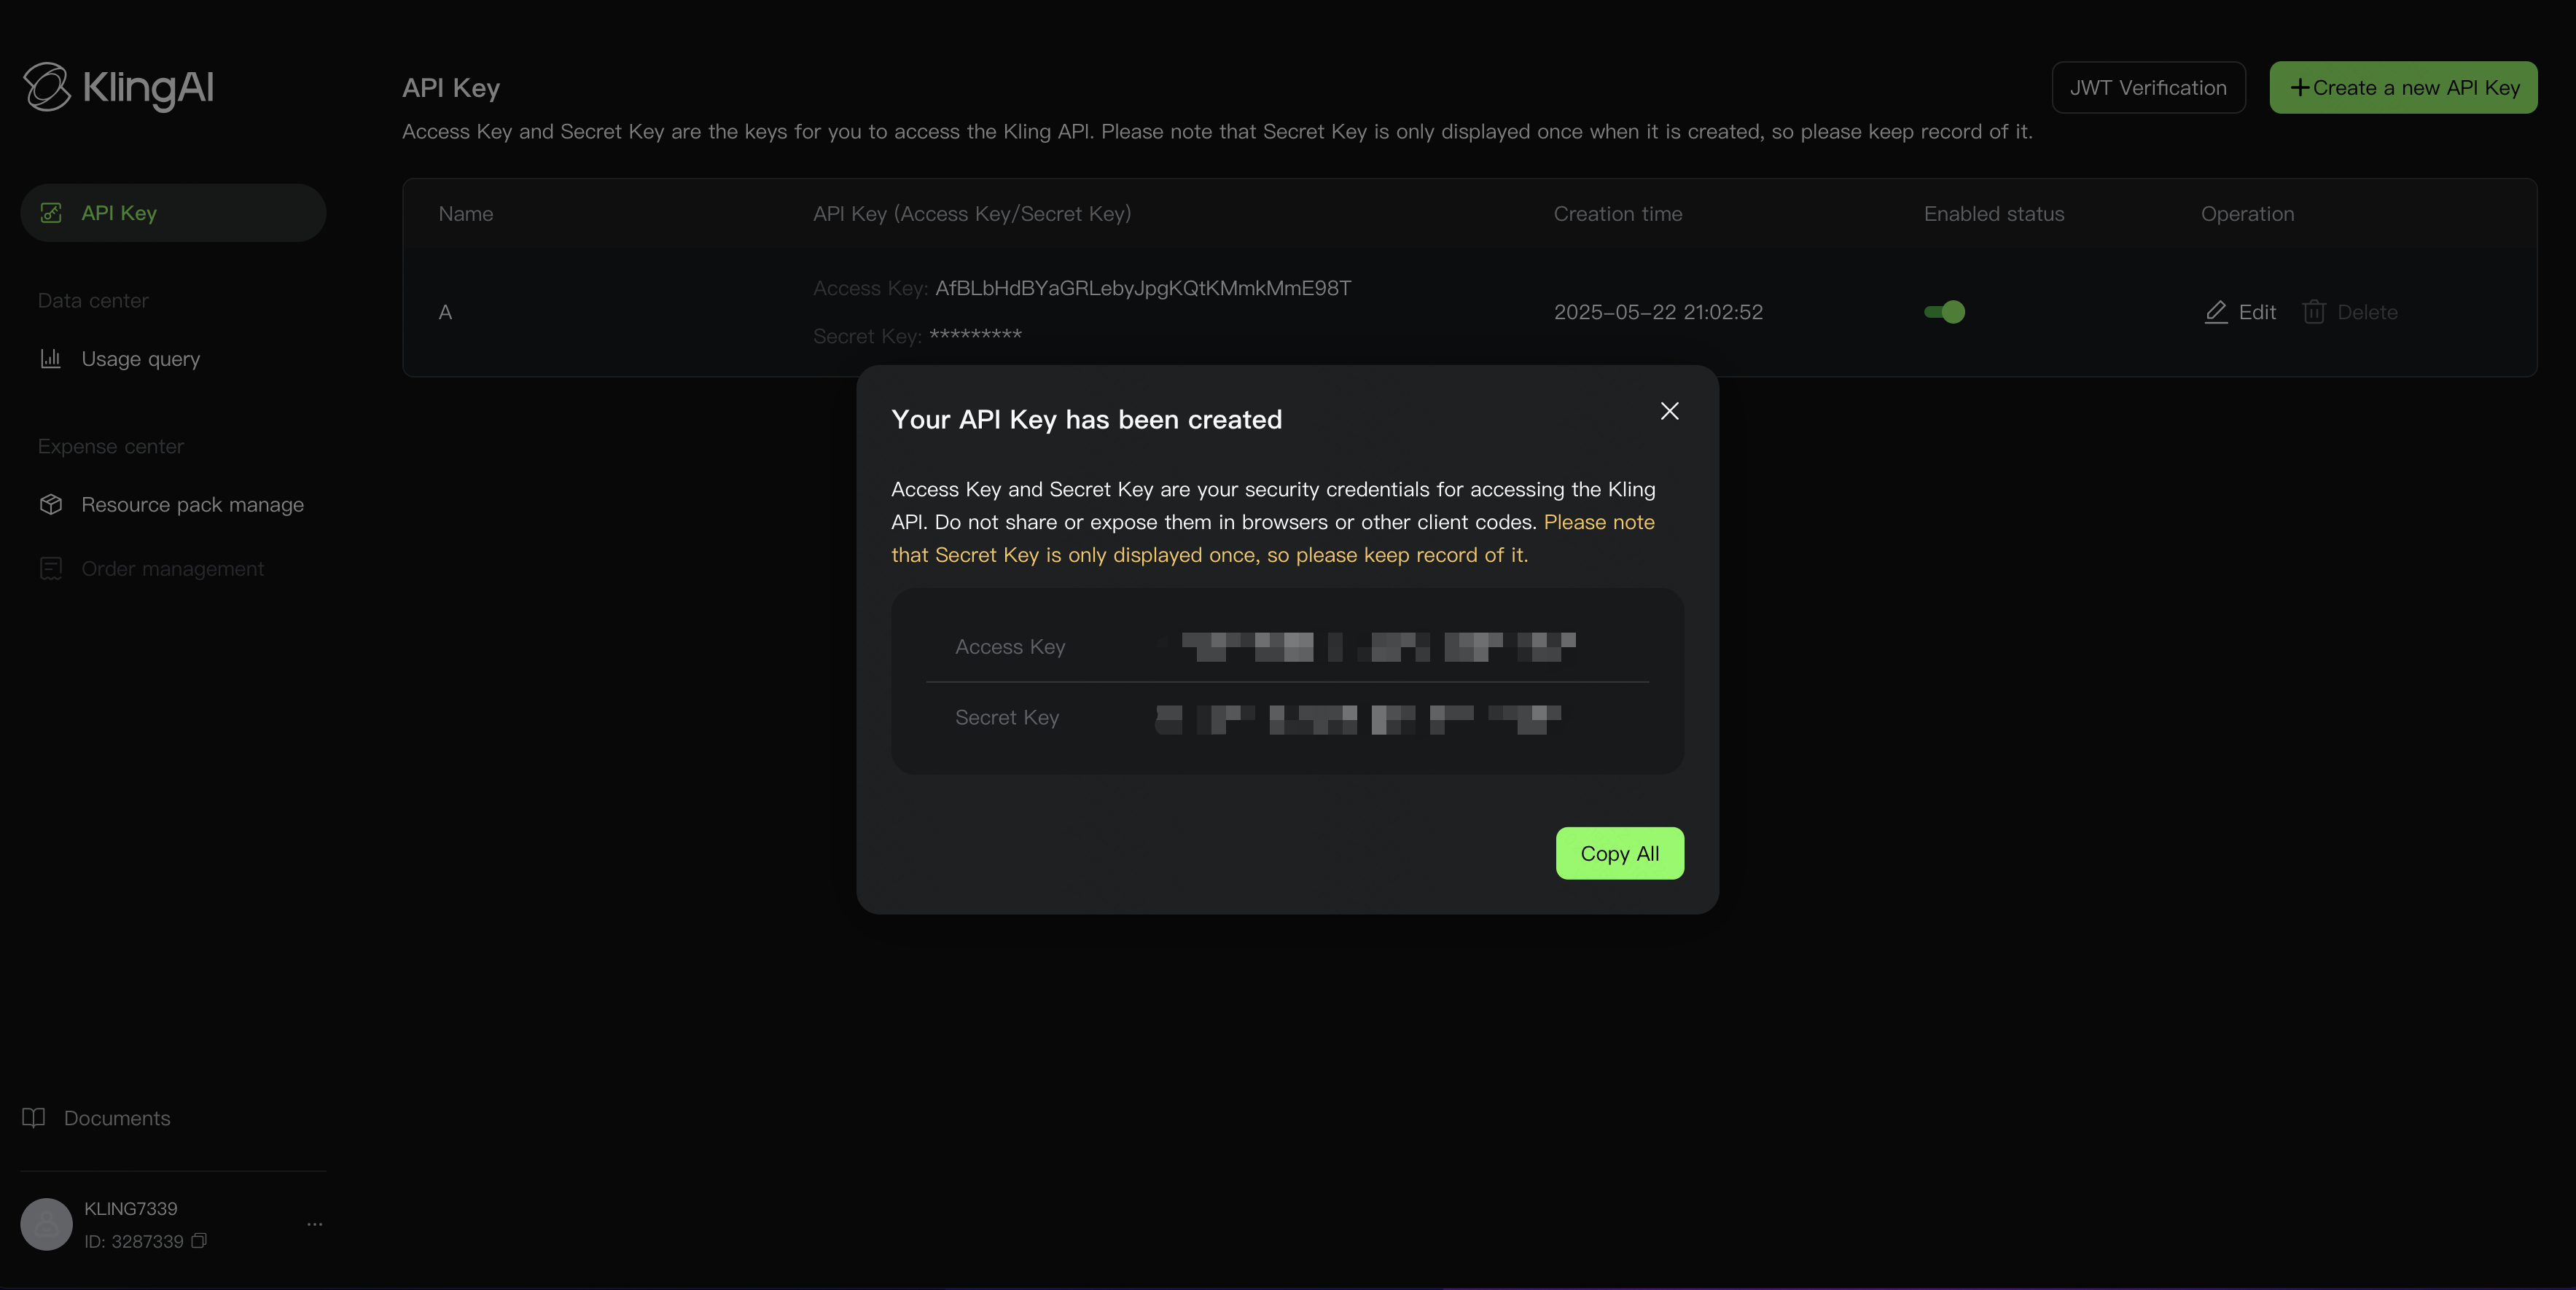 |  |
Important Notes:
| ||
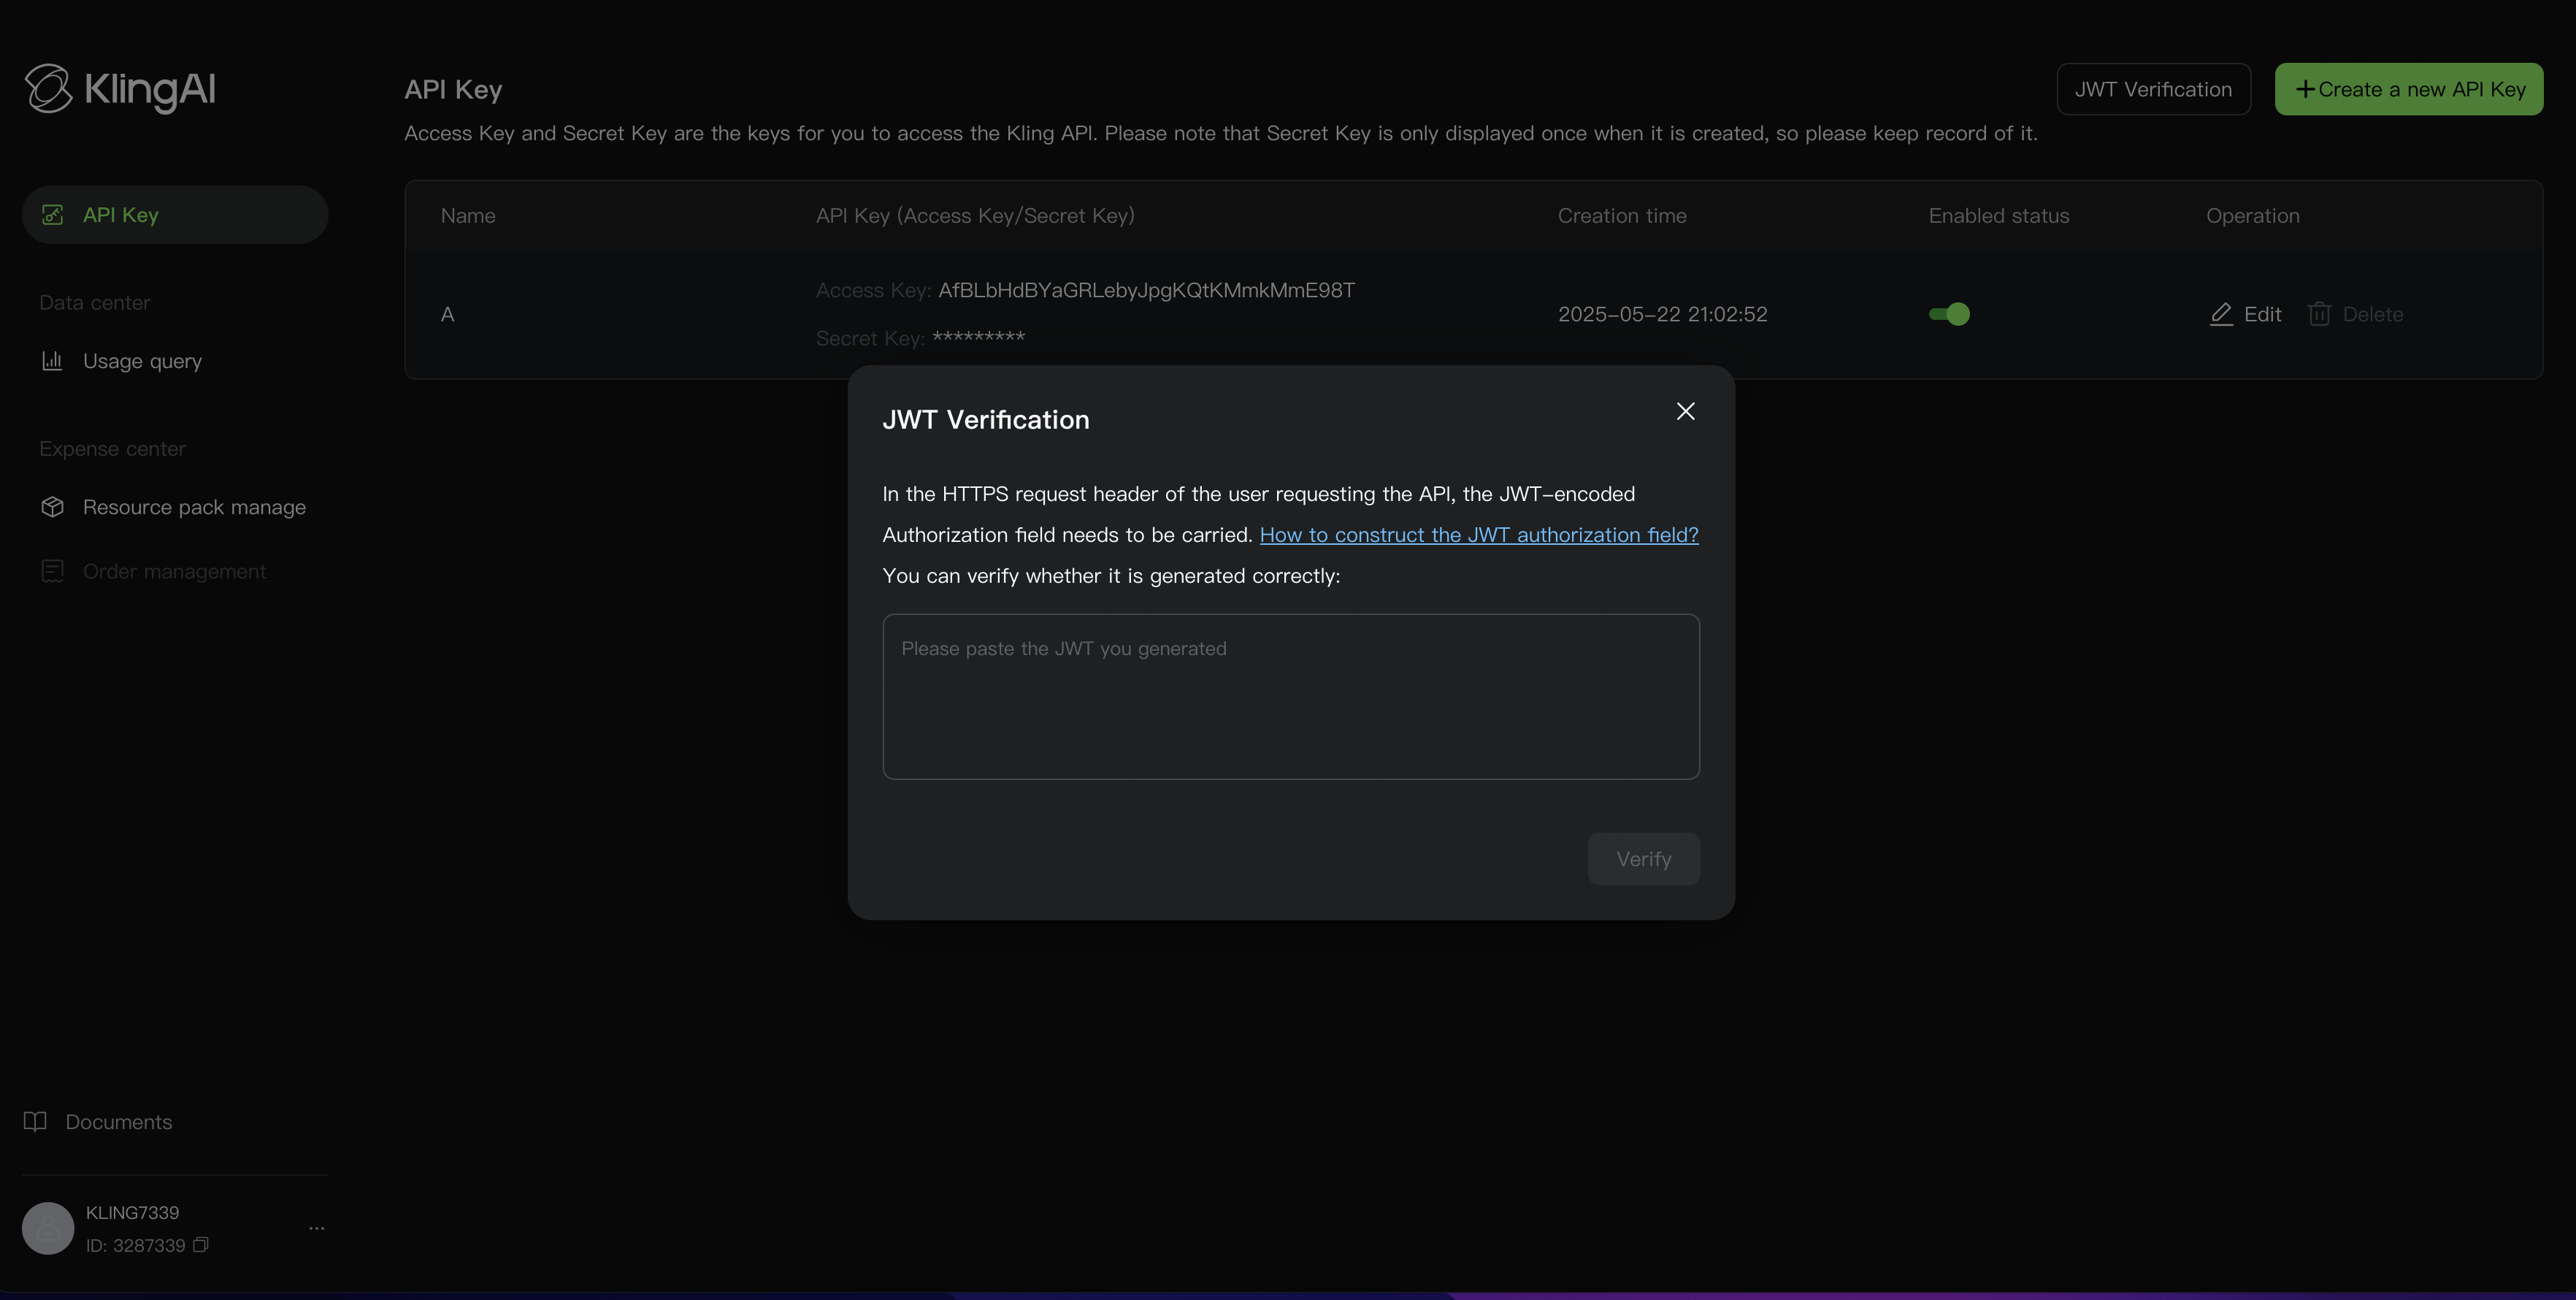
- Perform JWT Verification
Follow the JWT (JSON Web Token, RFC 7519) standard. Use the specified encryption method to generate an API Token, then verify the token via JWT. Refer to the documentation at: 「Kling AI」NEW API Specification
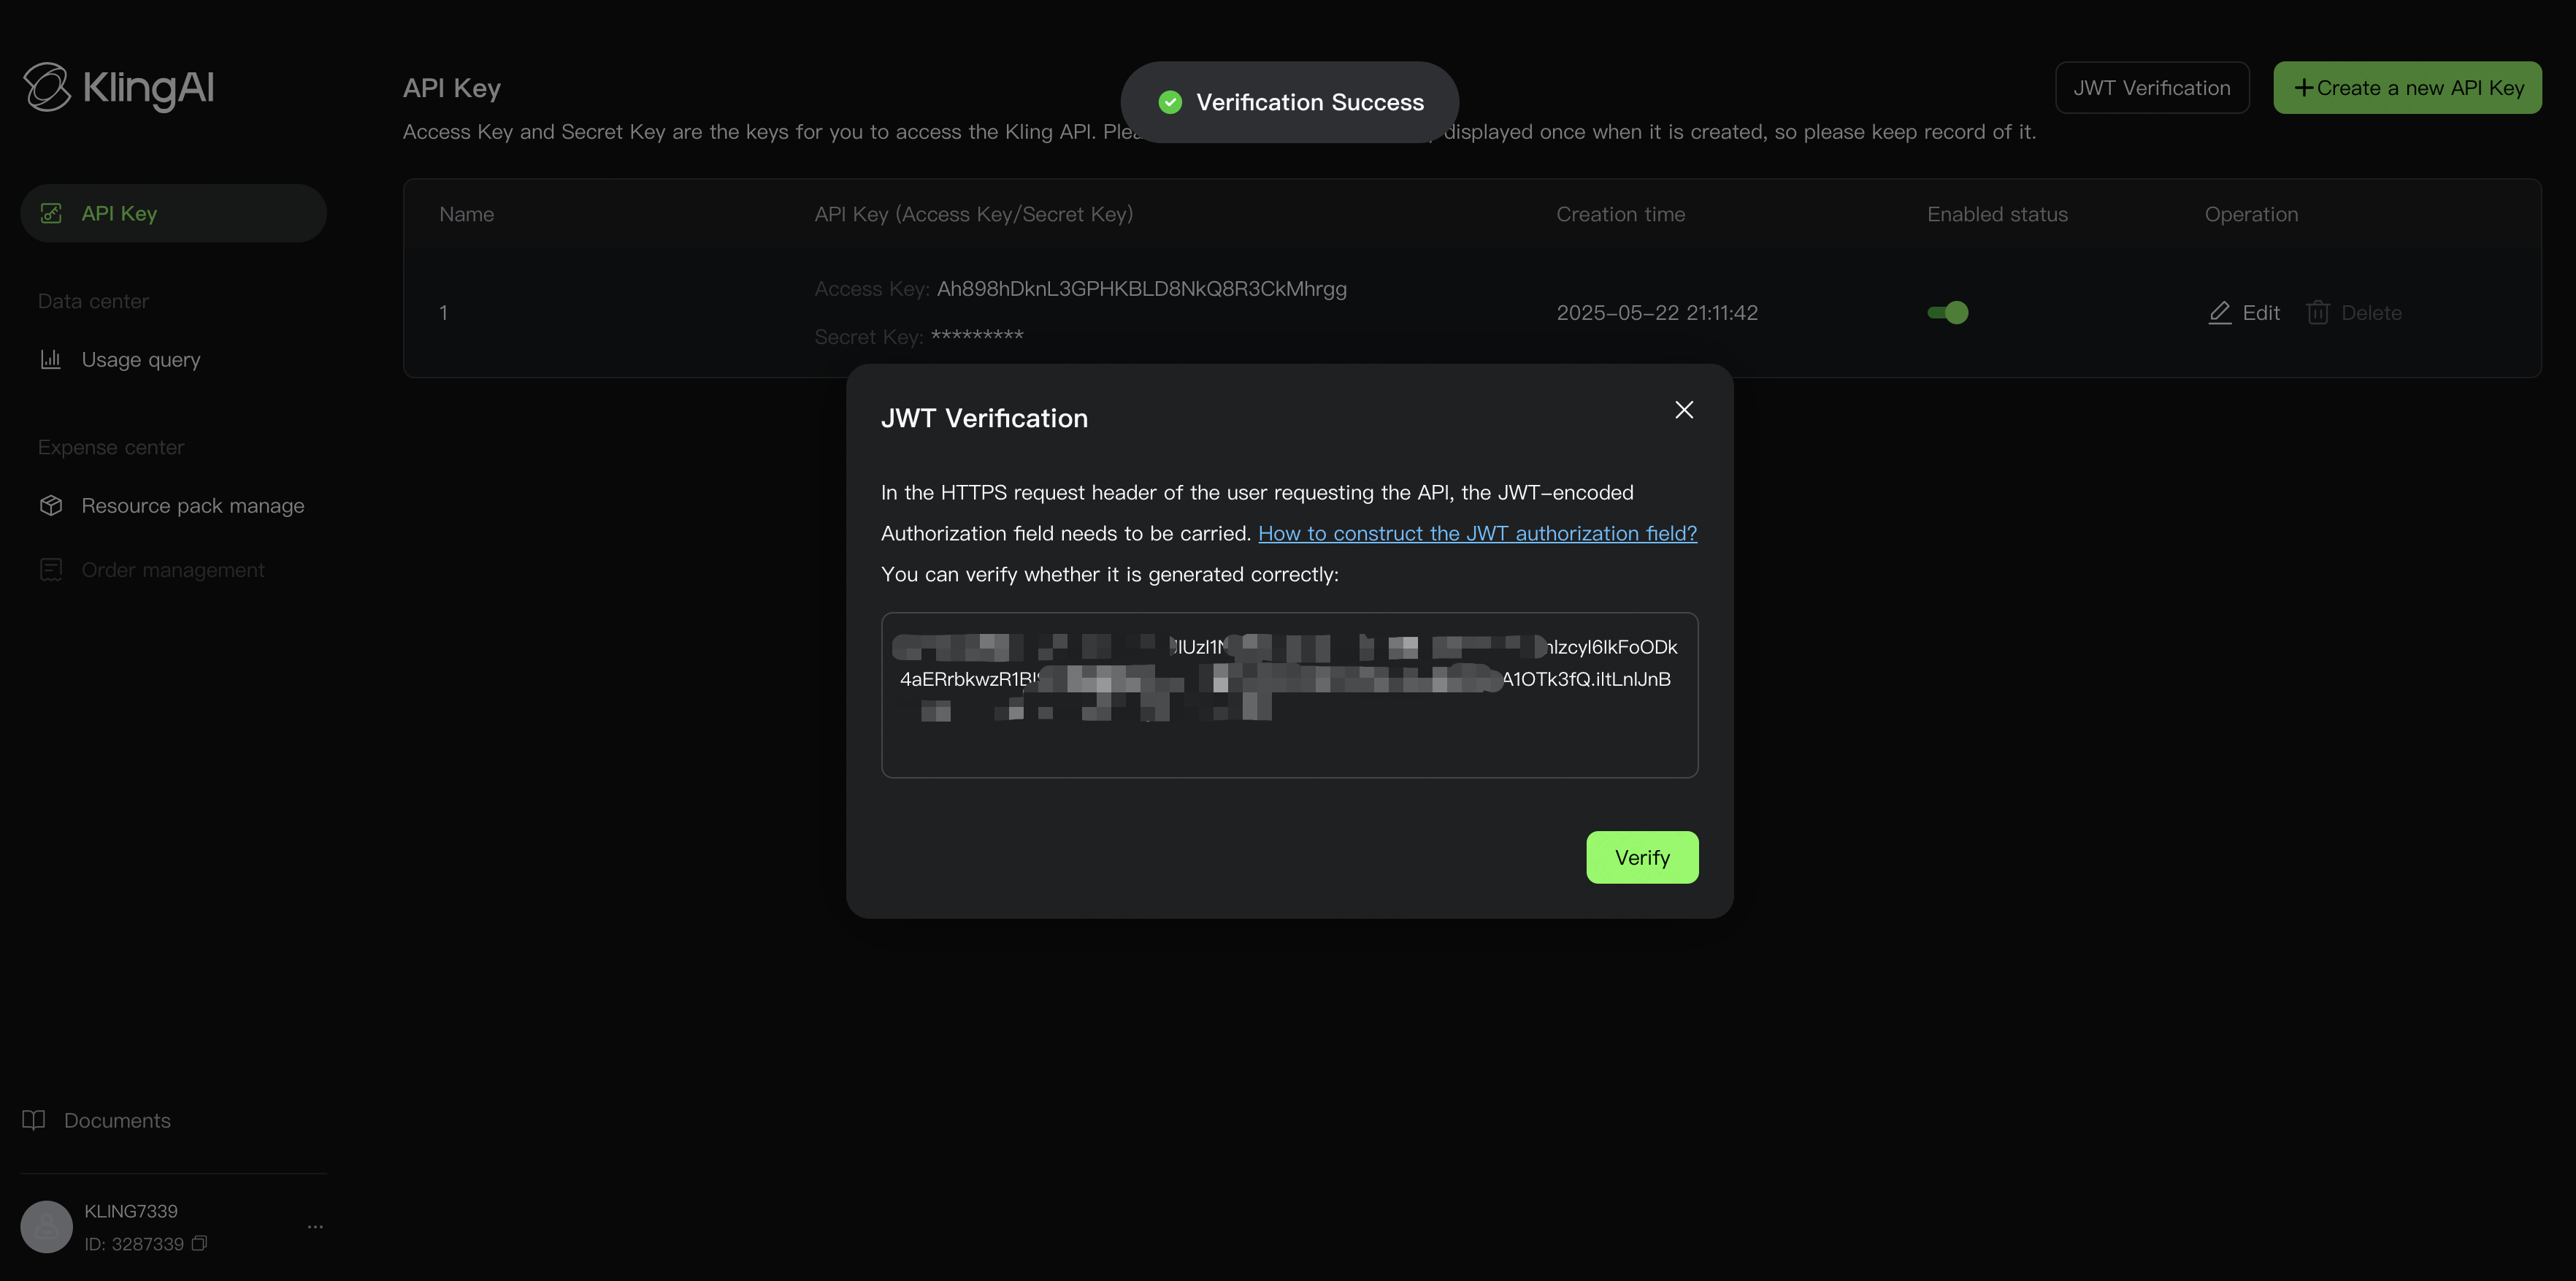
| Click JWT Verification | Paste your API Token into the text box and click Verify | If it shows [Verification successful], the API is ready for use |
|---|---|---|
 |  |  |
- Construct Authorization
Use the API Token generated in Step 2 to construct the Authorization and put it in the Request Header. Format it as follows: Authorization = “Bearer XXX”. Replace XXX with the API Token from Step 2. (There must be a space between “Bearer” and XXX.)
Step 5: Call the API Service
API Domain: https://api-singapore.klingai.com
Step 6: View Information in the Console
| View API call volume and usage trends | View API call volume and usage trends View resource package consumption progress and trends | View detailed billing information |
|---|---|---|
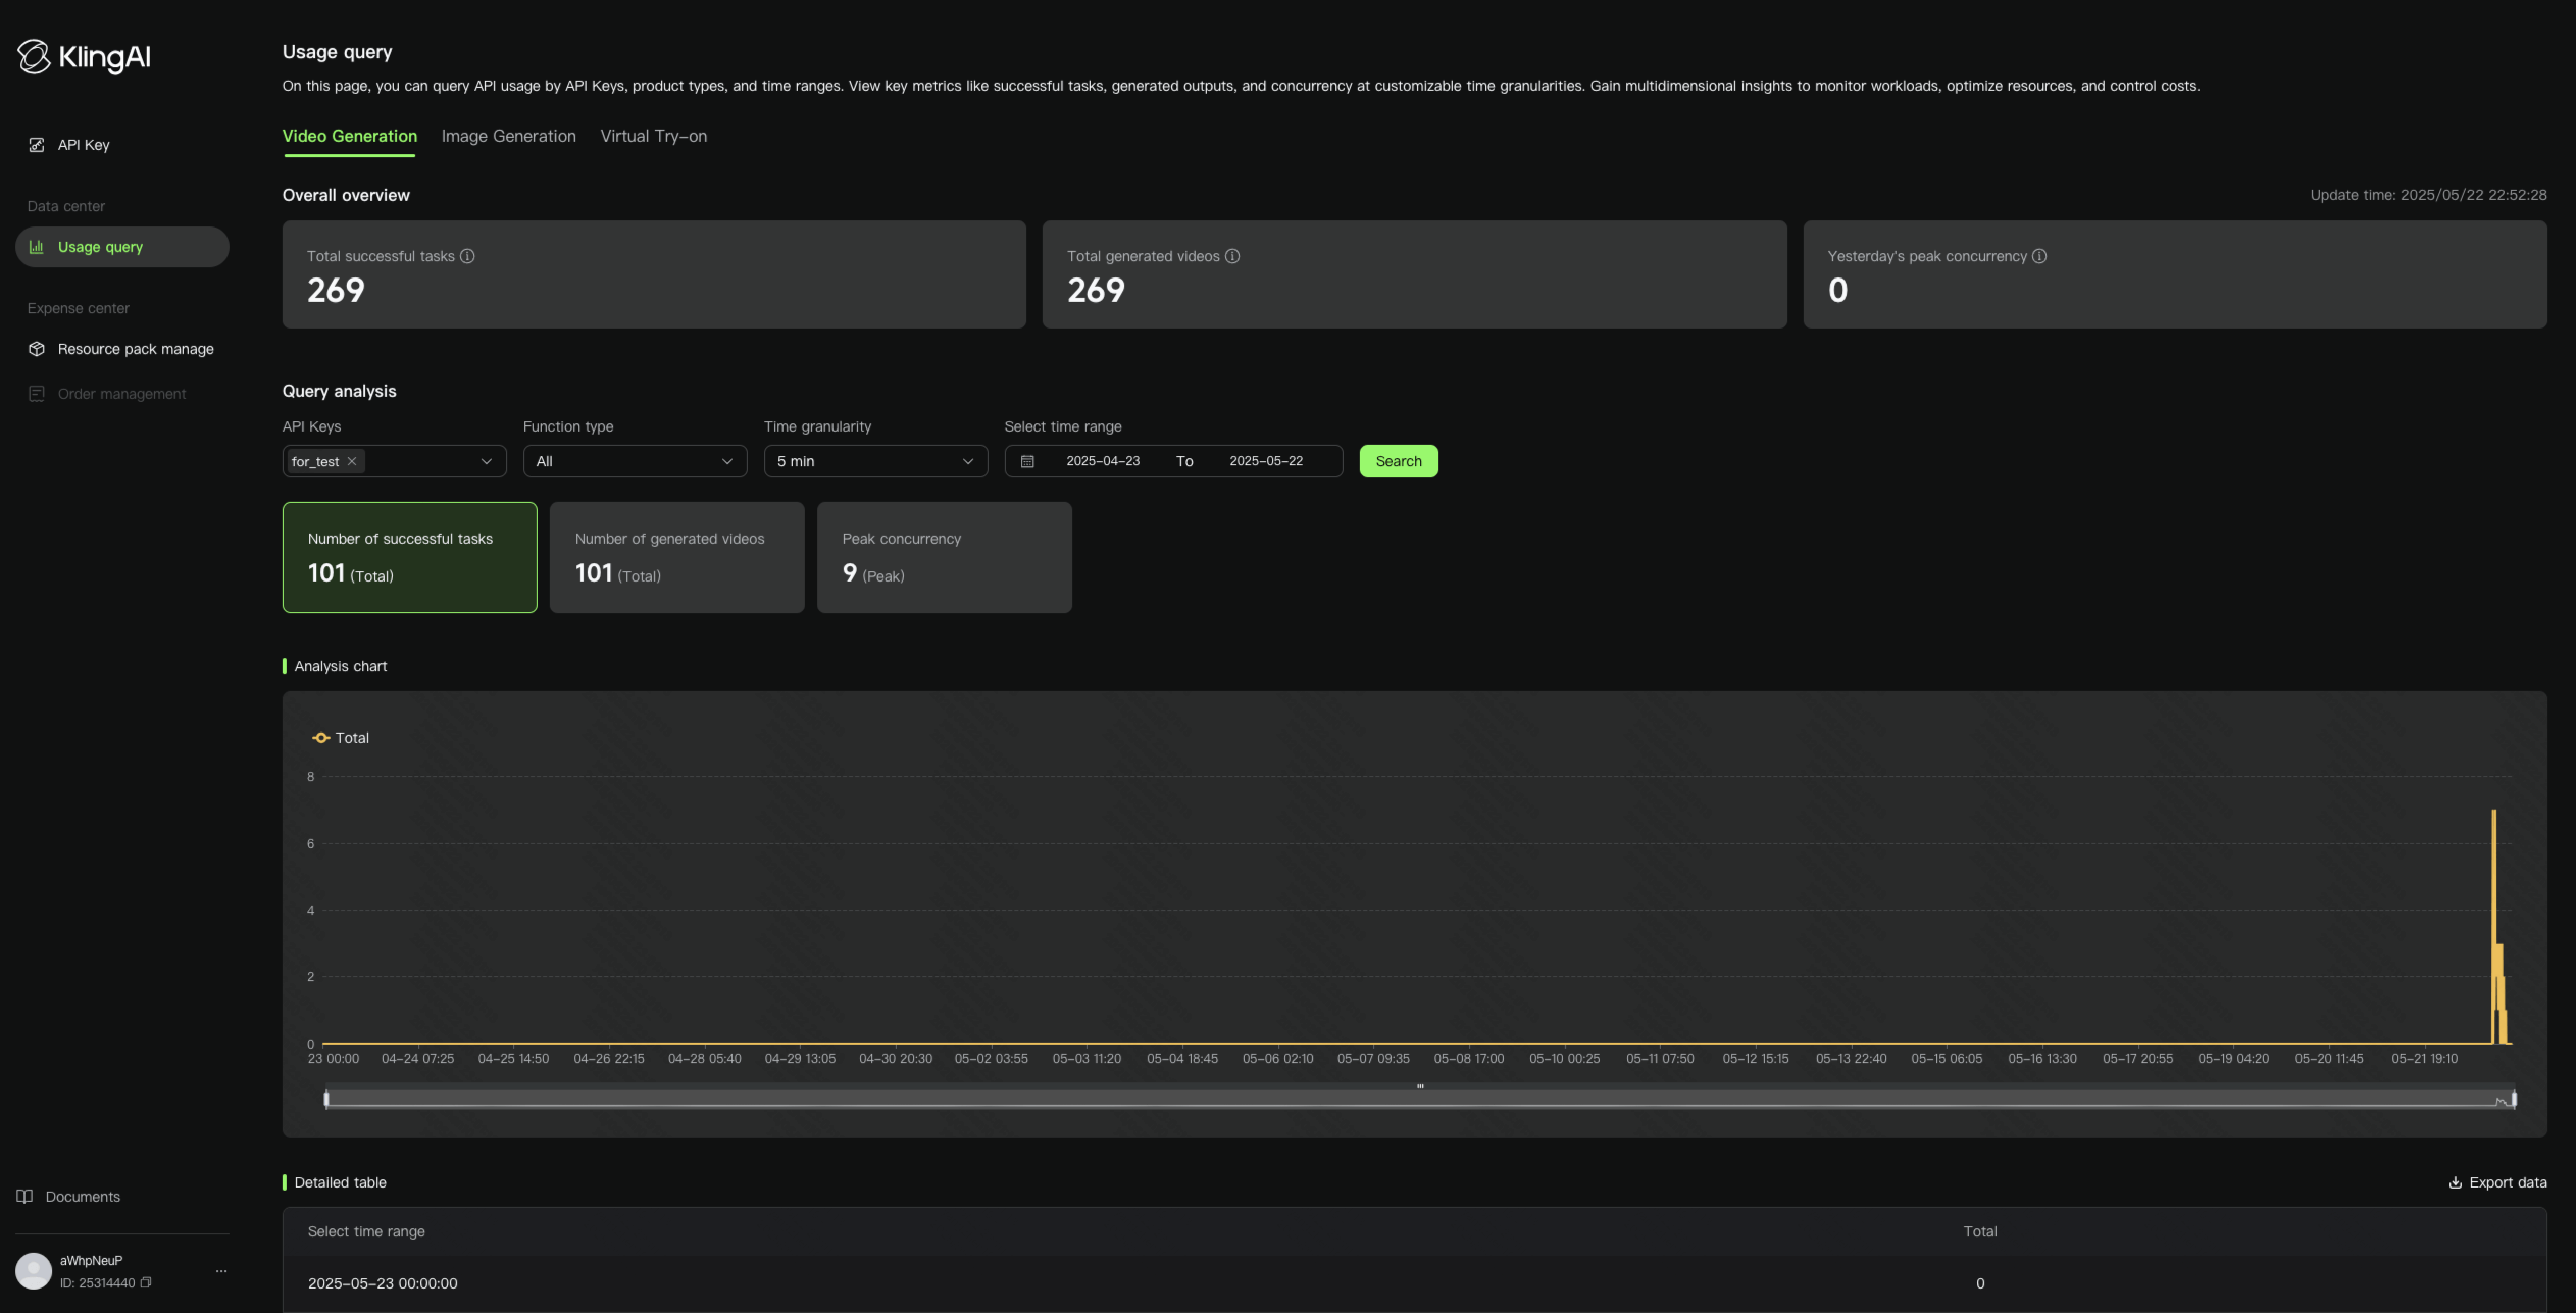 | 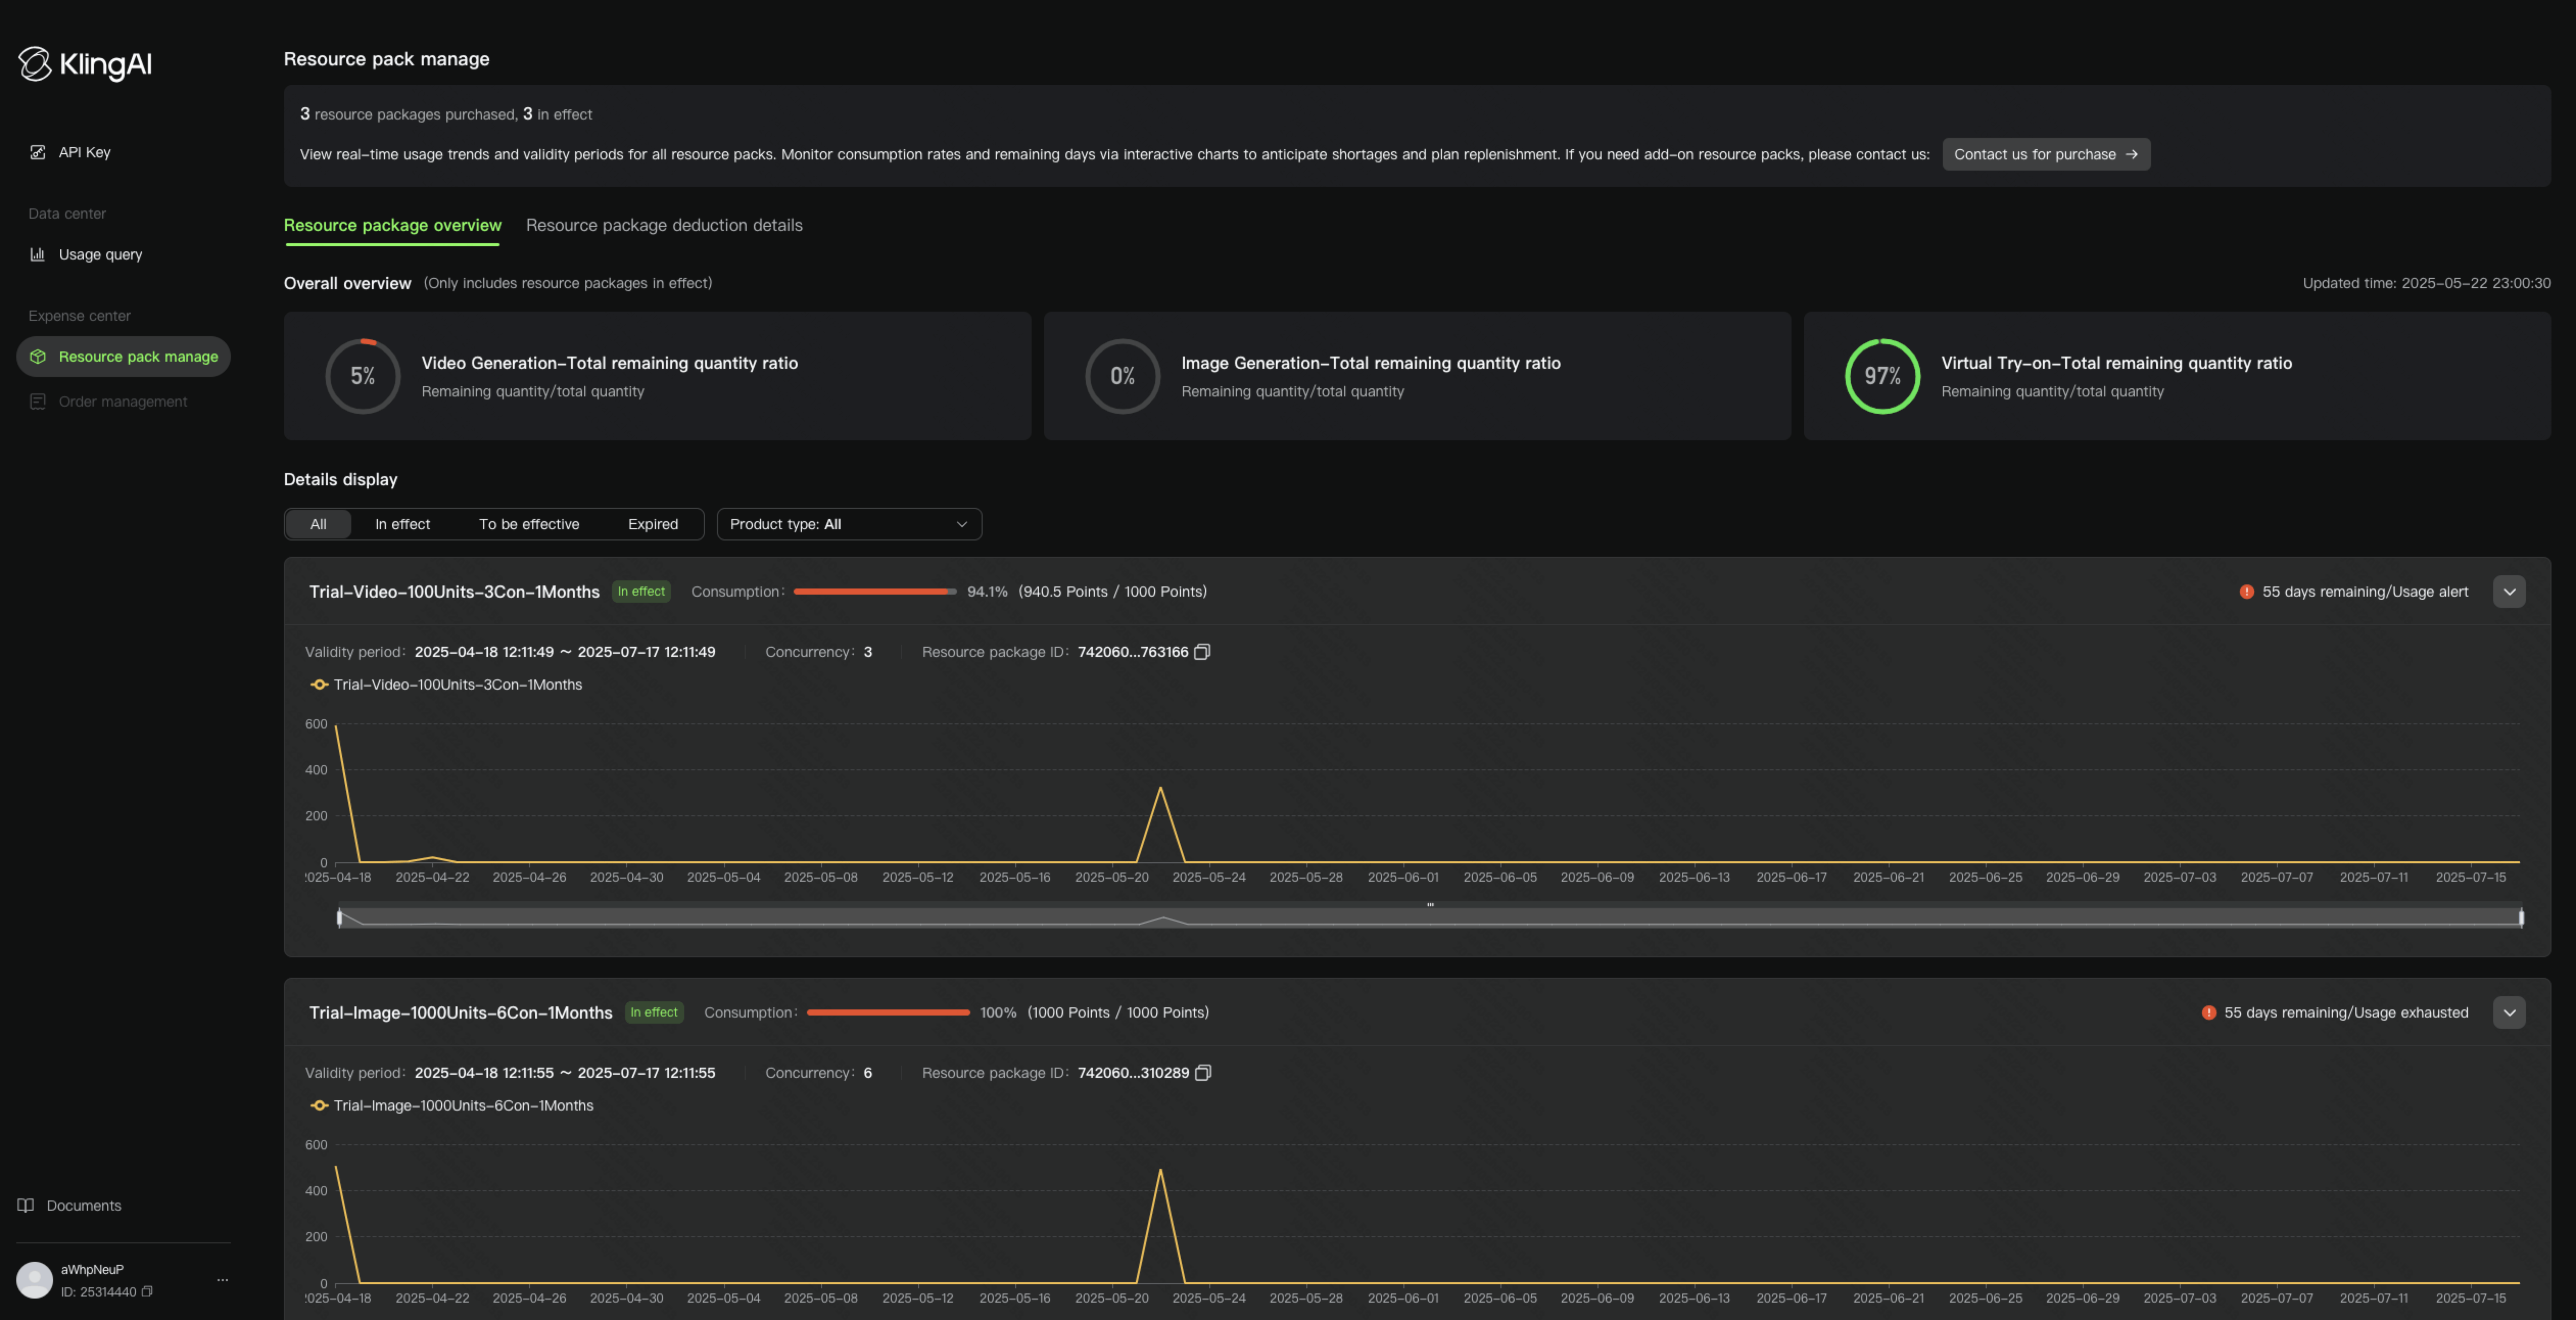 | 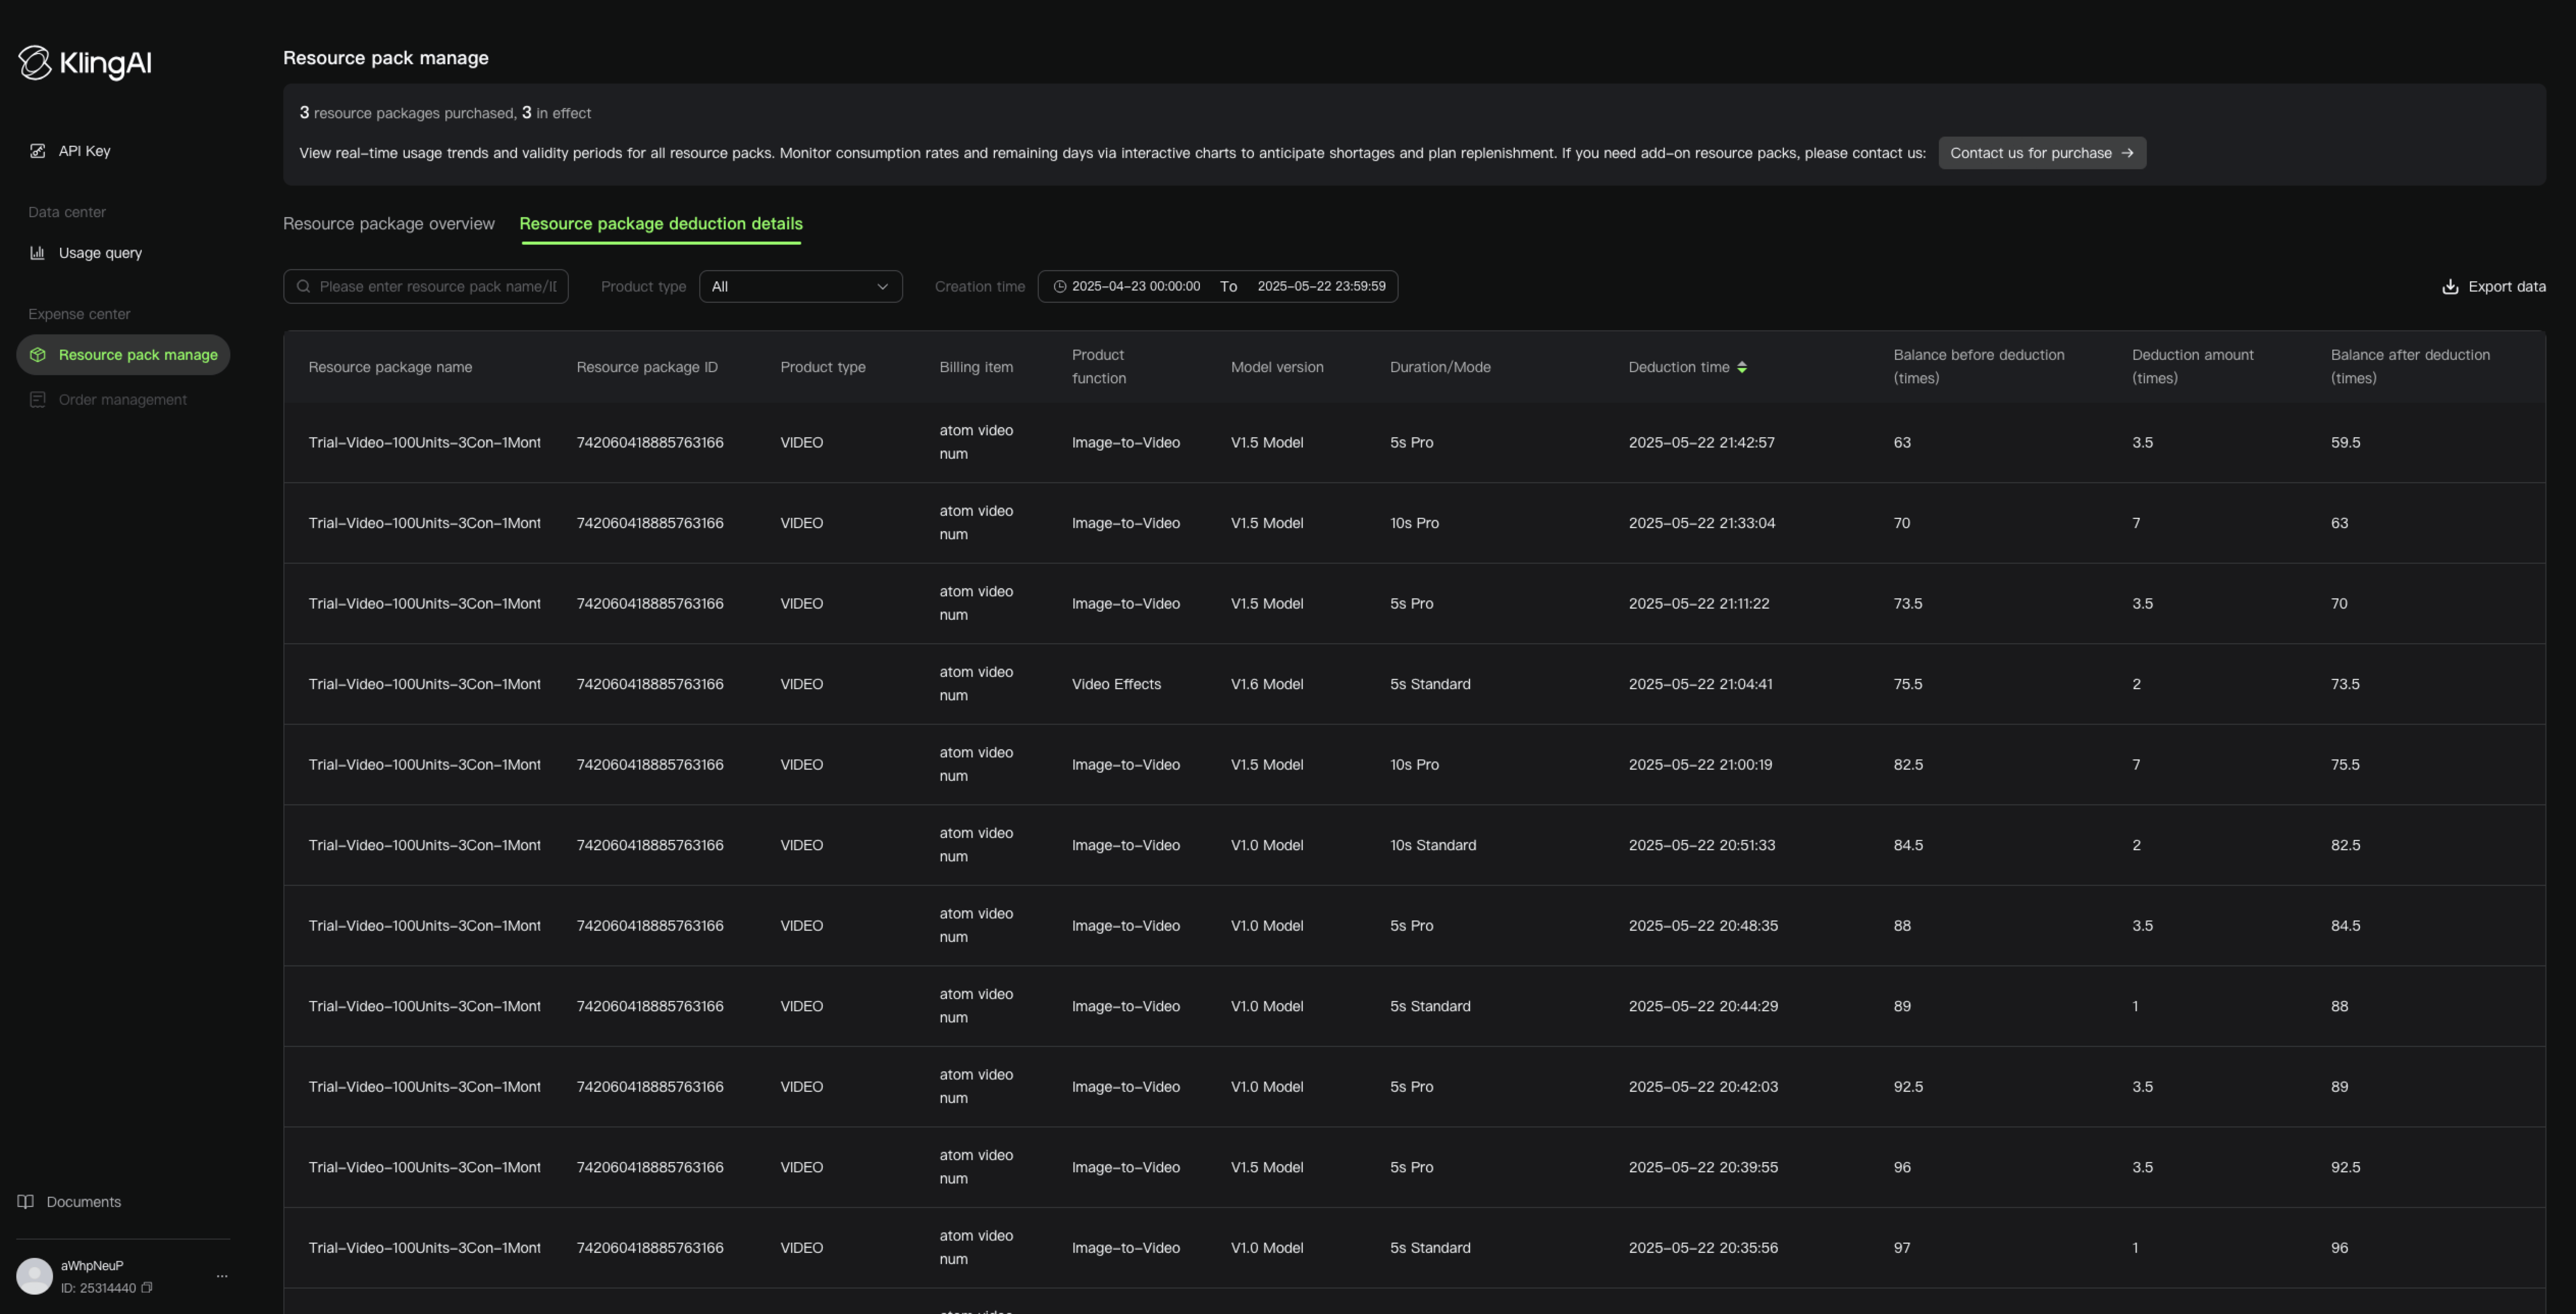 |